Archive | February 2012

Crunchy Chicken Boobs

As you probably well know by now, I’m going through my “I never did this” recipes and am finding quite an overwhelming stash to get through. I also had gone a little crazy on buying chicken breasts. They were on sale. And a REAL good deal. I mean. Real good. They had to be because I actually don’t like chicken breast. I find it way too dry. I much prefer whole chicken, from my co op actually, but it was just way too good a deal AND I have so many recipes that call for chicken boobs.

When I ran across the recipe, it seemed pretty easy. And since that day I seemed to be being super lazy, it was a perfect fit.

First, grab some chicken boobs and slather them with mayo. Well, that’s what the recipe says anyway. Says more specifically to coat them with Miracle Whip. Which I didn’t have. So I used ranch dressing. Yes, I had mayo, but it was REAL mayo, and it probably wouldn’t add that “zip” the recipe was looking for so Ranch dressing seemed the way to go.

God that looks vulgar. Anyway…

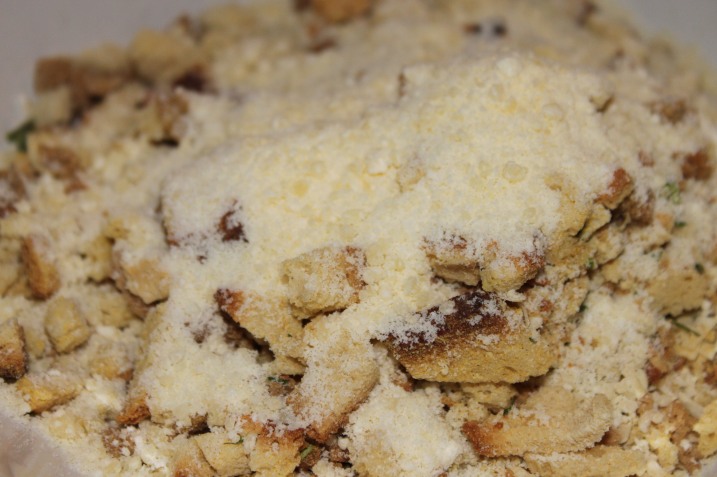
Now you are gonna pop open a box of stuffing. Stove Top style. I used the chicken flavored one. And to that add 1/4 cup of Parmesan cheese.

Mix that up real good. Don’t grind it or crush it, just leave it as is.

Now dip the chicken in it and coat it with the stuffing mix.


Now, slap those on a foil covered cookie sheet and stick it in the oven at 375 for 30 minutes. Well, mine actually took 45 but that could be the size of the meat.

And out it comes.

See? Easy peasy. Not even worth writing a recipe down. I love recipes like that, so simple they are in your head.

I ask my “testers” to tell me not whether the recipe is “good” or not, but whether it’s good enough to repeat because honestly, I’d like to get rid of some of the thousands of recipes I have.

The verdict on this was, and I was surprised, yes, it was a repeater. When I tried it it was nice and tender with an outside crunch and actually pretty pleasing. It’s a bit plain for me, but that could perhaps be because of the omission of miracle whip. This could EASILY doctored up and seems a good staple meal too. Maybe hot sauce? Thousand island dressing? Italian dressing even? It’s not exactly diabetic friendly, but it’s certainly NOT the worst thing you could.

Try it, doctor it up, let me know. I’m thinking this is one recipe for chicken boobs that might have some serious potential!

Stupid. Freakin’. Bread.

Right. So. By now you know the seething hatred between me and bread. Or you only have to look back some posts to figure it out. And here I am again. Trying to make it work.

You can’t say I’m not putting my part into this relationship!

I ran out of bread, store bought, and I didn’t feel like running to the store. The Texan also loves Hawaiian bread, and I had the ingredients for it. Stupid bread. I figured it’d do just fine as a PB&J sandwich bread.

So I held my breath and tried not to cuss too much. I grabbed out the ingredients. And I started. Again.

You’d think I would learn.

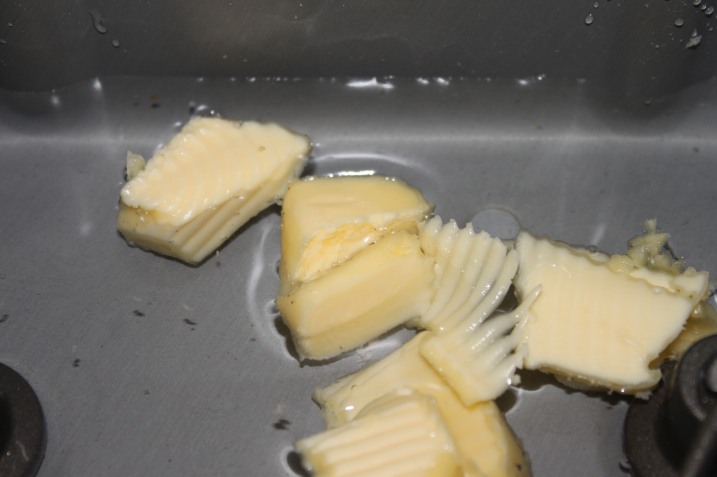
So, add the water and the butter to the stupid bread machine.

Now add the stupid cake mix. This is supposed to be what makes hawaiian bread different. Whatever. Stupid bread.

Now add the stupid flour. And the stupid yeast. In a stupid well inside the middle of said stupid flour mix.

I set the stupid bread machine to light crust and walked away.

I didn’t peak. I swear. I swear I swear I swear.

I walked away and did other things so I didn’t go mad.

And THIS, dear readers, is what I get!

Are you F*@(ING SERIOUS RIGHT NOW? What is THAT? It caved in?

This is the part where I normally curse a lot, complain, tell you that God hates me and try to figure out what happened.

I’m not doing that today. I’m on FREAKIN STRIKE!

Ugh.

I don’t care. They’re gonna eat it anyway and LIKE IT!

In a Pickle

I can go a little nutty with canning. I tend to find something on sale and go totally apeshit with it. A few years back, it was pickle mixes.

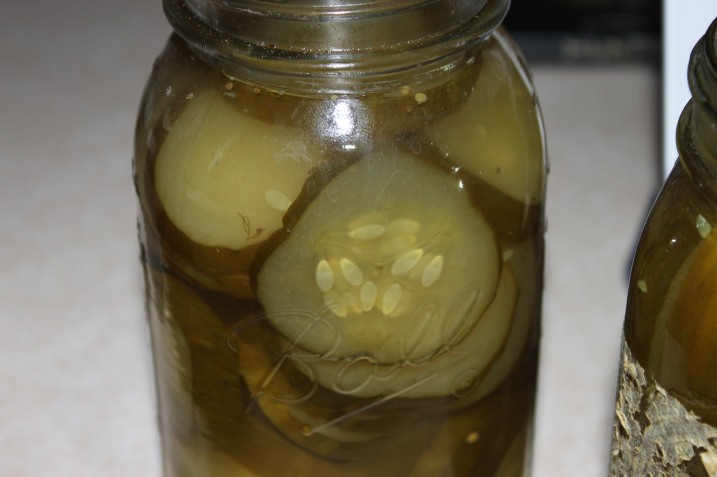
Some store had on clearance OODLES of Ball pickle mixes. Dill and bread and butter pickles and oh my. I had about 30 packets of these things I swear.

After making some jars of pickles, which everyone just LOVED, there the rest of the packets sat in my pantry.

And after awhile I started feeling guilty. There was a sale on pickling cucumbers, they were SUPER cheap, so I decided what the hell. Let’s use up these packets. I enlisted the help of BFF and kids, and boy did we can up the pickles.

At first I started trading pickles with neighbors and freecylers for different things. Then I think everyone got sick of pickles. And remained sick of pickles for quite a few years.

Yes, I know, pickles stay good forever. But honestly, me and the Texan don’t really like canned pickles. I’m more of a hard, crisp, never cooked pickle person. As a matter of fact, I won’t even eat canned pickles unless it’s on a hotdog or something.

I needed the room in my pantry that was being taken up by the tons of canned pickles. I wasn’t canning any more because I didn’t have room, damn the pickles. So many pickles.

And what the HELL can you do with them? They aren’t really recipe friendly and quite frankly no one was going to eat them all out of the can so I had to get crafty.

I thought, well, why not dry them? But I knew better.

Cukes are almost all liquid with subtle flavor, so they’d dry basically into salty nasty flavorless chips. I already knew that. There’s a reason you never hear of dried pickles.

But then it dawned on me. You DO hear about pickle CHIPS. As in potato chips! AHA! There was something.

So I grabbed some of my pickles. Mind you, an entire dehydrator load (and my dehydrator is HUGE) didn’t even make a dent in my pickle stash.

And I laid them out on trays.

And I dried the shit out of them.

THEN! And here’s the crafty part. I ground them into a powder in my coffee grinder.

And I fried up some potatoes and coated them in pickle powder.

Was it good? Why yes, yes it was.

You REALLY have to coat the chips with it though. Like a LOT to get the flavor. It’s not as bold or salty as you’d think. It has more of a pickle after taste. But it’s pretty good, and I bet it’ll be pretty damn good on popcorn too.

Would I suggest this to someone just to do it? NO. It wouldn’t be worth it. But I have so many pickles that are going to go to waste otherwise and I just can’t have that. All that work! I had to come up with something. So, pickle powder it is.

I’m sure there aren’t many people out there that feel my pain with this one, but I was proud of my little creativity. Yes, I’m feeling a bit smug.

Course I  have no time to stand here and feel smug and let you adore my awesomeness because I have about 4, 928, 018 pickles that I now have to go dry.

The Perfect Italian Beef

I love Italian beef. I’m also a Chicagoan, and I’m going to tell you right now that outside Chicago, there is really no such thing as Italian beef. I’ve been everywhere, and it just don’t cut it. It’s like trying to get a Chicago hotdog out of Chicago, A Philly cheesesteak outside Philly. You can do it, just ain’t the same.

So many of my friends that move out of state tell me at one point or another how they miss Italian beef. It is REALLY good.

My BFF’s mom actually sent me this recipe years ago and I made it ever since. Is it true to form Italian Beef from a greasy hole in the wall in Chicago, no. But it’s still DAAAAMMMMNNNN good. In some ways it’s BETTER than a greasy hole in the wall in that instead of being shaved beef, it’s chunked and meatier and heartier. I’m drooling thinking about it.

It’s perfect because it’s a crock pot recipe. That means minimal work. And maximum flavor. I made it for super bowl because it can be made the night before no problem. Actually gathers flavor that way.

First, get yourself a chuck roast. I use grass fed.

Dump that bad boy in the crock pot with some oregano, red pepper flakes and some onion soup mix.

Now add a jar of peproncini’s with the juice. Mind you you don’t have to cut the stems off, they get nice and soft and you can do that after they cook if you want and just make sure not to serve any up.

Now dump in a can of beef broth.

And a can of French Onion soup.

And in 8-10 hours, you’ve got a soupy, delicious, meaty, spicy mess.

When you serve that puppy up on some crusty italian bread, or french bread, don’t skimp on the juice. A real Italian beef should be so soggy the bread is kind of falling apart.

It’s got some spice to it too, it’s not at all wimpy, so if you like your spice, this is for you. And it’s SO damn good. Freezes AWESOME too!

I never ask this of you but don’t question me on this, just make it. It’s freakin GLORIOUS.

————

CP Italian Beef

3 lb chuck roast

1 can french onion soup

1/2 bottle peproncini and 1/2 bottle of juice if you are using large jar, whole bottle of juice and peppers if it’s a small jar

red pepper flakes to taste (I use about 1/2 tsp)

black pepper to taste (about 1 tsp)

1 can beef broth

1/2 package of dried onion soup mix

1-2TB oregano

5 cloves of crushed garlic.

Put everything in your crock pot. Keep on high 4 hours, reduce to low and cook until tender, about 4-6 more hours. Break the meat the stem the peppers with a fork when they are tender, discarding stems when it’s served. You can make this the night before. Serve on hard rolls.

Spray It On Thick, Baby

Scent isn’t only my job, it’s my life. I am VERY olfactory. I can relate scents to memories, people, etc. I actually remember someone’s scent before their face. My friends tell me I have “werewolf smell.” I swear I can smell something going bad in my fridge from the second floor of my house.

I LOVE to have a nice clean scent in my house. I love any good scent in my house. And my job is actually creating scent, so it works perfect. But I realize that for most people, this isn’t the case. And even I sometimes run across something in the store and go “OH! I LOVE THAT!” and of course I buy it and go home and try to recreate it LOL. But nonetheless.

I noticed a clean scent in the house can actually trick people into thinking your house is cleaner physically than it actually is. I can’t, of course, smell my own house. My niece, nephews and my BFF all tell me that my house is their favorite scent. Yet they can’t describe it to me. Well, call me Elizabeth Arden.

I’m super sensitive about the smell of my fabrics. I don’t know why, but I LOVE the smell of fresh fabrics and linens. I make my own freshener sprays most of the time, but I have to say that I do love the smell of Febreeze. But it’s damn expensive. Lucky for me, I also love the smell of fabric softener. As a matter of fact, I can’t tell you how many times my other “were nosed” friend of mine and I have gone to Target only to spend a half hour in the fabric softener section opening caps and smelling them.

I was surprised when I was shuffling around Pinterest (if you haven’t joined that site yet, do it. Now. And realize that I’ve just caused an addiction) I saw that someone had made homemade febreze from fabric softener. This didn’t surprise me, what surprised me was all the people that thought this was a NEW idea. Man, I’ve been doing that for YEARS. It’s gotta be going on a decade now. And it’s GREAT stuff, better than the real thing, cheaper, longer lasting and you have more control over the scent. So go on and go sniff the laundry section and pick out your favorite.

This isn’t my favorite, but they didn’t have my favorite in stock. But this is pretty damn good, and it was on sale.

Now grab yourself a spray bottle. A good one too, one that does fine mist.

As far as the “amount” goes, I tend to use LESS than most “recipes” call for. Most recipes call for a 2:1 ratio water to softener. I find that this is nice and strong BUT it kind of leaves a real slick type coating on my fabrics. I find filling the bottle 1/4 of the way with the softener and the rest of the way with distilled water works great. But it’s really up to you. Test and try.

Some recipes also call for vinegar. I skip that. I like my stuff with just water and softener. But again, it’s up to you. Make sure you test an area first too, just to make sure your fabrics can handle your little experiment. I know some of the real cheap softeners can leave oily lookin stains on stuff.

So, pour it into your bottle, add the water, and shake like hell.

Label it cause, if you are anything like me, someone might think it’s meant to clean the counter tops and well, nothing says GROSS like when you realize the counter where you prep your food is covered with a film of fabric softener. Downy seasoned chicken is freakin’ GROSS.

I use dissolvable labels, which aren’t real conducive to nice writing because they come on a FREAKIN’ ROLL but they are easy to get off unlike regular labels.

And there you have it, homemade fabric freshener for super cheap! It works great, too, my house smells lovely.

I don’t know about you, and maybe I’m just a dork, but new cleaning stuff makes me so happy, especially when it’s something that smells great. Nothing motivates my cleaning fits like a freshly scented brand spankin new load of counter cleaner or scented scouring powder. It’s the simple things in life, after all.

Surrender Bread

If you’ve read my previous posts, you realize me and bread are mortal enemies. Bread hates me, and I hate bread. Well, I LOVE bread. My body hates bread but more importantly I hate MAKING bread. And bread does NOT like me. It doesn’t like coming out right for me. It wishes me dead.

But I battle the beta cell killing diabetic poison thing almost every week and hope and pray for mercy. I have a bread machine because, damnit, I paid a lot for it and it WILL come through!

I found a recipe in my file box for French Baguettes. It required ONLY the dough cycle on the machine. AHA! I can try to do the hybrid thing, that way if it fails I will have TWO things to blame: The oven AND the bread machine!

My bread machine actually has a preheat function so I don’t have to worry about precise temperatures. Score.

The weird thing about this recipe was it didn’t call for a second rise. That’s really weird. Maybe I wrote it down wrong. I dunno. So, being that this is the first time I tried this recipe, I’m going to do it like the recipe says. Next time, I’ll try a second rise.

So, first, grab the water. Cause the bread machine book thingee tells me I have to add the liquid ingredients first.

Now I add the dry stuff.

This is how it looks before I turn it on.

Now I flip it to the dough cycle. Which kneads it and gives it a first rise.

Don’t let the simplicity fool you. Bread is a moody, evil bitch. And I’m done being fooled by simple recipes when all I ever get is freakin’ door stops.

So anyway, it’s set for 2 hours. So I go and proceed to do some knitting or some other such thing to keep my nervous mind off the probably going to fail dough that I’ll have to bake.

Once it’s done, you gotta roll it into wands. Normally, this is where you’d have a second rise but, as I said before, recipe doesn’t call for it.

It said to cut slits in the top, which I did.  It also said to spray it with some water or put a pan of water in the oven to make it crunch. No. That’s too much work for something that I was pretty certain was going to be disappointing. I’ve learned my lesson when it comes to the yeast beast. I refuse to put too much heart and soul into the bread unless I know it’s gonna come out.

And of course, I forgot to take a picture of the finished product. Sorry.

But I can tell you it actually came out good. Was it super light and fluffy? No. But it wasn’t super dense either. It was good enough that all try baguettes were eaten at dinner. So this is something I’m going to try again, perhaps this time with a second rise and with the water misty thing.

*squints eyes* Make no mistake. I still don’t trust bread. I still think it’s out to get me. I still think that at any time, at any place, it’s going to fail on me. Fool me once, shame on you….Fool me twice….

———-

French Baguettes

1 cup water

1/2 tsp salt

2 tsp yeast

1 1/2 tsp sugar

3 cups of bread flour

Use dough cycle on your machine and add ingredients as called for in your bread machine instruction book.

Remove dough, divide into 2 or 3 pieces. Roll into skinny wands. Place on baking sheet coated with cornmeal. Slash top with 3 diagonal cuts.

Place in 450 preheated oven. Bake 12-15 minutes depending on thickness.

When done, they should be deep brown and sound hollow.

Place water in the bottom of a pan in the oven or spray with mist of water for a crunchy crust.

Joe Brownies

Thanks to the recipe app on my ipad, I’ve been inputting recipes for weeks. I’m not complaining, this actually gives me a chance to try all the recipes I’ve had and didn’t try. It “surprises me” with random recipes, so I’ve been making something different near everyday. I love it.

This time it gave me Coffee N Cream Brownies. Where I got the recipe? I’ve no idea. But it’s an interesting take on brownies using instant coffee. Let’s try this shall we:

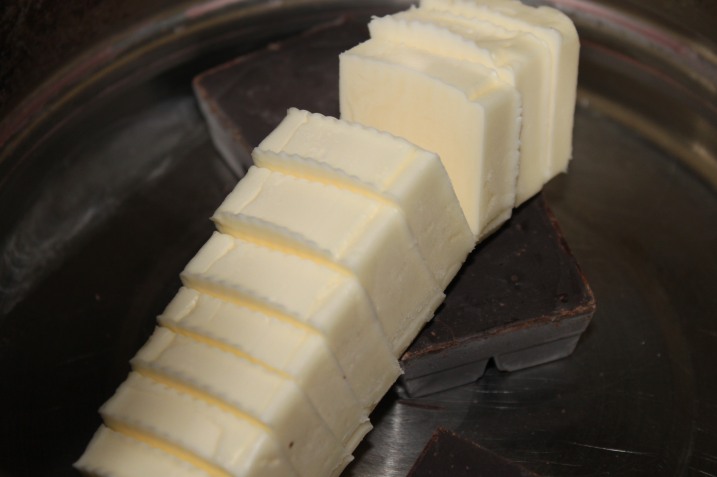
First, melt some unsweetened chocolate and butter in a saucepan. I have tons of unsweetened chocolate. Think I went bonkers on a clearance sale. Then I realized not many recipes actually CALL for unsweetened chocolate. Oh well.

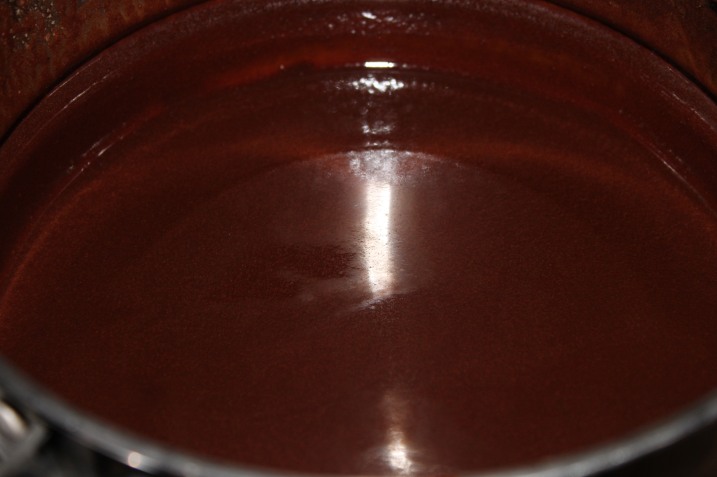
I don’t care what anyone says, there is something sexy about melted chocolate

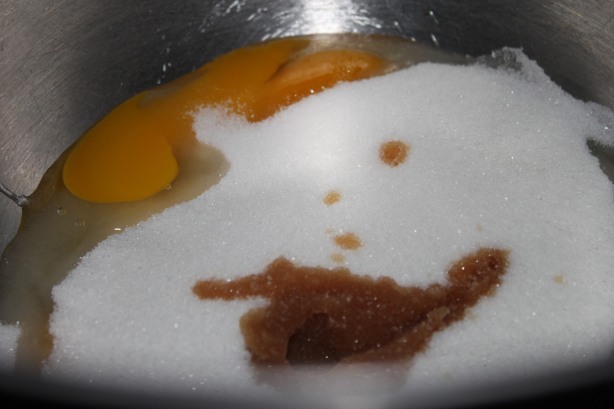
Then put some eggs, sugar and vanilla in a mixing bowl.

Stir in the melted chocolate goodness.

Now combine flour and baking soda

And add that to all the other stuff


Pour that into a pan and let it bake. Try not to taste it. Ok taste it. Just try not to eat it all.

While that’s baking, go ahead and make the frosting. It’s interesting because it calls for powdered sugar, soft butter, heavy whipping cream and instant coffee. The instant coffee doesn’t dissolve though, it leaves specks through the frosting. It’s SUPPOSED to dissolve mind you, mind didn’t.

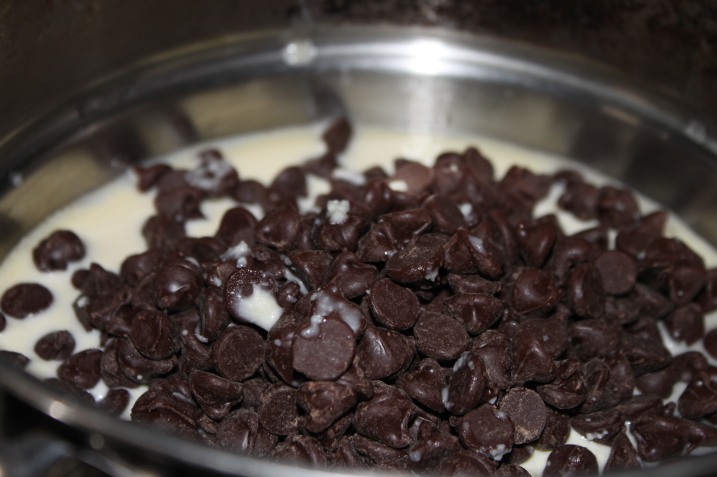
And make the glaze. Melting whipping cream and chocolate chips together.

While all that’s going, take out the brownies and cool them on a wire rack. Perhaps maybe it wouldn’t be a bad idea to maybe perhaps have a little taste of the brownie at this point. Maybe. Perhaps.

Once it’s cool enough, go ahead and frost it with the coffee frosting.

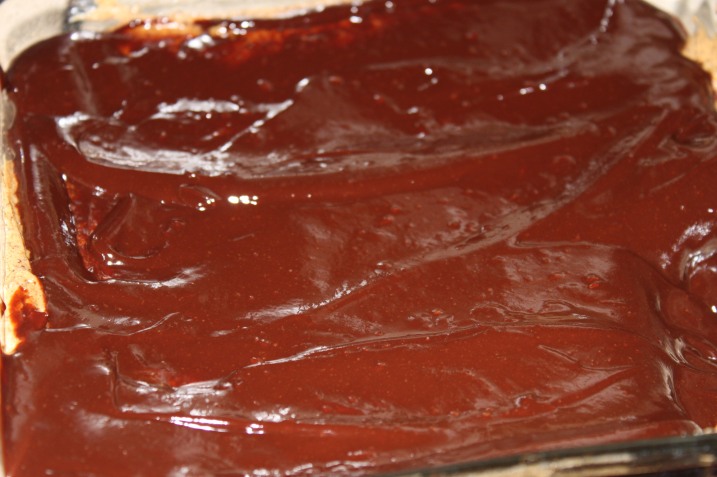
Now dump the chocolate glaze on it.

Stick it in the fridge to cool.

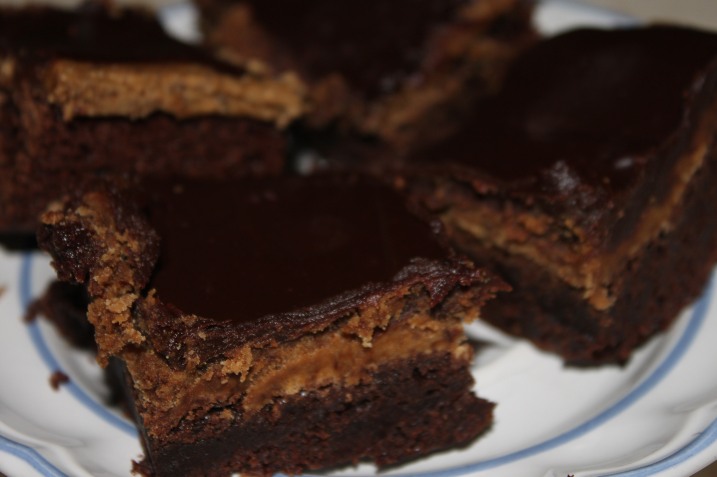
At first check, it didn’t appear the glaze was going to harden. Which is a great tragedy because I love taking half of everything I make and freezing it for lunches or snacks. But sure enough it did harden up quite nicely.

The verdict? Pretty freakin’ good. The coffee adds an interesting, bold taste that holds a little bit of bitter against a background of very sweet and I really liked it. I didn’t have a whole one because, well, there isn’t enough insulin in the world, but my “testers” really liked it. I ask them to judge my recipes not by whether or not they are “good” but whether or not it’s something they’d “request” again. I have literally thousands of recipes and the name of the game is to get RID of the ones that aren’t totally awesome. That is if I live long enough to make all of them.

So I suggest you try this if you love brownies. Course you shouldn’t do this if you are diabetic. Come to think of it, you shouldn’t do this at all because it’s bad for you. But it’s a yummy, yummy bad for you.

———

Coffee N Cream Brownies

Brownies:

1/2 cup butter

3 squares, 1 oz each, unsweetened chocolate, chopped

2 eggs

1 cup sugar

1 tsp vanilla

2/3 cup flour

1/4 tsp baking soda

Filling:

1 tb heavy whipping cream

1 tsp instant coffee

2 tb butter, softened

1 cup confectioner’s sugar

Glaze:

1 cup, 6oz, semi sweet chocolate chips

1/3 cup heavy whipping cream

In a saucepan over low, melt butter and chocolate. Cool slightly.

In a small mixing bowl beat eggs, sugar and vanilla. Stir in the chocolate mixture.

Combine the flour and baking soda, add to chocolate mixture.

Spread into a greased 8×8 pan. Bake at 350 for 25-30 minutes or until toothpick inserted near center comes out clean. Do not over bake. Cool on wire rack.

For filling, combine cream and coffee in a small bowl. Stir until coffee is dissolved.

In small mixing bowl, beat butter and confectioner’s sugar. Add coffee mixture. Beat until creamy. Spread on brownies.

In a small saucepan combine chips and cream. Cook and stir over low heat until chocolate is melted and mixture is thickened. Spread over filling. Let stand 30 minutes. Cut into squares and store in refrigerator. 16 brownies.

Snickerdoodles to The Rescue

I was indeed a crafty bitch this holiday season. I went ahead and froze extra cookie dough so I wasn’t slaving making batch after batch after batch of cookies day in day out while they were all being snagged up. Oh no, not me. I froze a bunch of cookie dough.

Including snickerdoodle cookie dough.

Which I proceeded to then completely forget about until now.

Nevertheless, I found it and took it out to thaw and bake. I love having frozen cookie dough at my disposal. It’s great when I’m running low on lunch snacks, like now. Cookies don’t freeze well. Cookie DOUGH on the other hand freezes awesome.

And just for the record, no, freezing is NOT my favorite method of food storage. It’s too sensitive. If the power goes out, or god forbid worse, basically you are screwed. But for non essentials-like cookie dough-it’s GREAT!

The best thing about it is that it’ll thaw out in no time and you can have it out and baked by the time the kids get home, dinner is done, or whatever. And don’t forget to snag half for lunches! That’s becoming increasingly important in my home. I find that if I snag half of them, they aren’t really “missed” nor are they really “searched for” ergo I then have a couple days worth of lunch snacks to throw in there with no effort.

My snickerdoodle recipes calls for them to be rolled in cinnamon and sugar right before baking, which I assume most of them do. So it’s super easy.

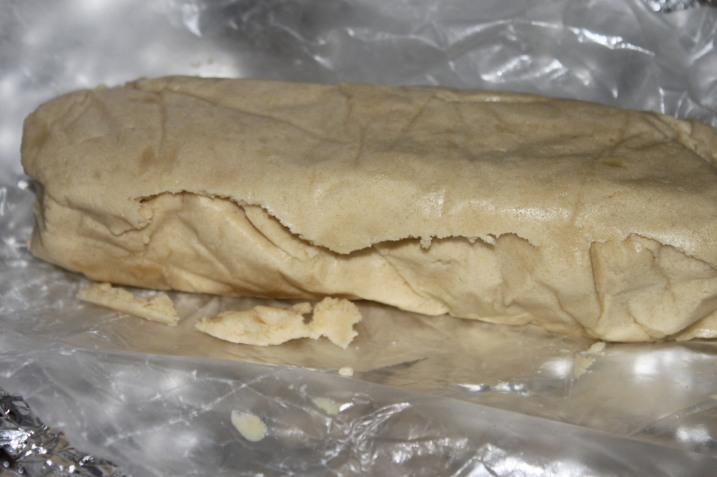
Grab the cookie dough out of the freezer. I wrap mine in rolls, in wax paper then in foil.

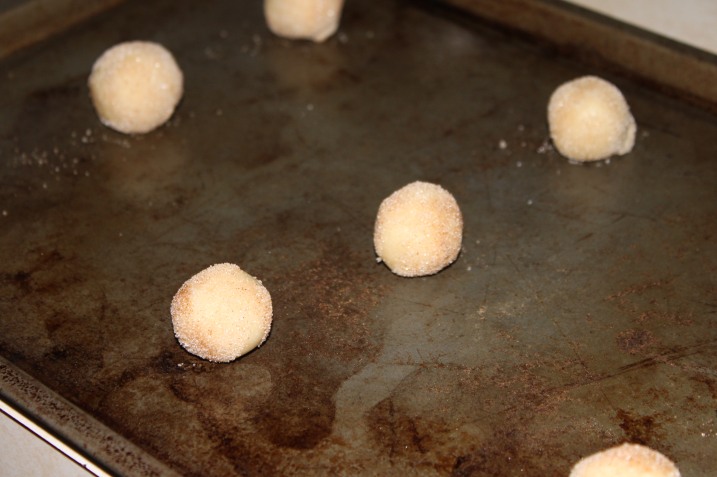
Once it’s nice and thawed out, roll them into balls.

Don’t forget to test some cookie dough. God wants you to. If you are not diabetic and have perfectly working beta cells, then have two. God said so.

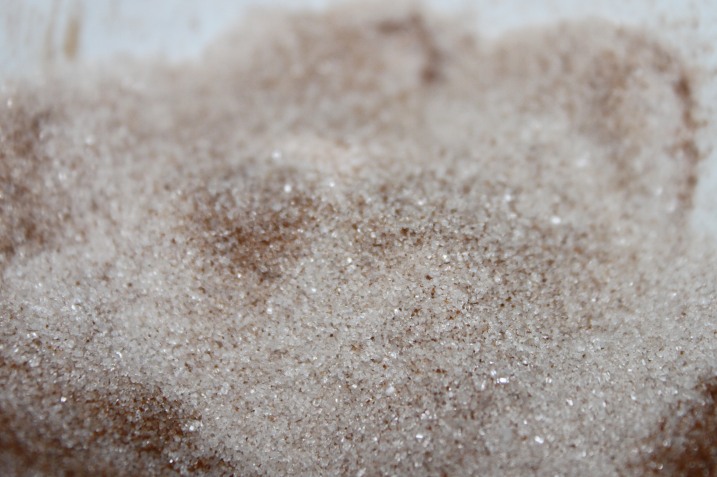
Then roll in cinnamon and sugar. Again, a taste test is a must here. You want to make sure you are giving a high quality product!

Set them out on greased cookie sheets and bake.

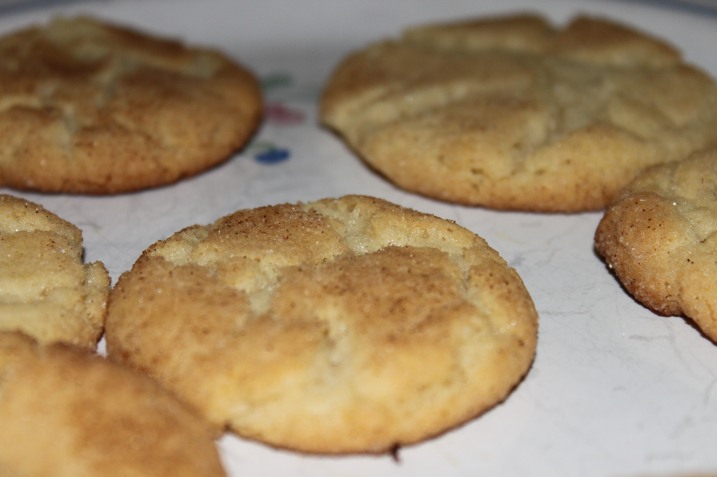
And viola! You’ll have cookies, damnit!

There will be no discernable difference between this dough and dough that I made fresh, and it keeps forever. Try it next time you make your favorite cookies. Make a double batch and stick one in the freezer. Then let them think you went through all the trouble of making super special cookies just for them on a whim! Thaw, pop em in, bake em, serve them and demand worship!

————

Snickerdoodles

1 cup shortening

1 1/2 cup sugar

2 eggs

2 3/4 cup sifted flour

2 tsp cream of tartar

1 tsp baking soda

1/2 tsp salt

3 TB sugar

2 t cinnamon

Cream shortening and 1 1/2 cup sugar. Add eggs and beat.

Sift together flour, cream of tartar, soda and salt. Stir into the first mixture.

Roll into balls. Roll balls in mixture of 3 T sugar and 2t of cinnamon. Bake 400 degrees for 8-10 minutes.

Dough can be frozen before rolling in cinnamon and sugar mixture.

Stupid F*@king Lunches

I HATE making lunches. With everything I have I HATE it. I make lunches for two guys who have working beta cells, so it should be easy. Fruit, sandwich, snack, whatever. It’s never that easy for me. Mostly because I HATE buying pre made franken food snacks and I can NEVER seem to keep up enough of an arsenal of my home made stuff to shove into lunches.

If you ever have this problem, I have a million ideas. I’ve managed to execute some of them, actually. For that I’m proud. Lately I’ve been in a busy whirlwind so my stock is running a little dry and thus irritating the hell out of me. So I thought I would put a list of ideas here for you all because, well, if you’ve ever gone through lunch hell, you know what it’s like.

Keep in mind I never said “healthy.” I like cooking, and being such that MY beta cells don’t work and I can’t actually HAVE sugar, I love making things with sugar for people who can have it (even though I do realize they SHOULDN’T have it). It’s torture I know and ass backwards, but it’s true.

Tip#1: Your freezer is your friend. Most things can be frozen and tossed in lunches STILL frozen because they will thaw out by the time the lunch is eaten. This also quickly teaches them to eat breakfast so they aren’t attacking their lunch mid morning and biting into a frozen something or another.

#2: When you make desserts, whether it be brownies, cakes, muffins, cupcakes, whatever, learn to do what I’ve done: steal half of it and freeze it before anyone has the chance to get at it. Most families aren’t going to go through 18 muffins or a whole cake in a few hours, so there is ample time to let it cook and snag em up to the freezer. It’s the same concept: Wrap in foil, then in a baggy, and freeze. If you are freezing something frosted like cake or cupcakes, then put them in the freezer on a cookie sheet long enough to harden the frosting, then wrap and store.

#3: Grab some 8 oz jelly jars, half pint masons, or take away containers and make some jello or pudding. Pour into the individual cups and you’ll have frugal, easy snacks.

#4: Dried food makes great lunch snacks so if you have a dehydrator, go for it. Jerkies, dried fruits and fruit leathers can be stuffed into lunches and they have a crazy long shelf life.

#5: Don’t deny the power of the leftovers. Today’s left over pot roast, pork roast and meatloaf can be turned into a roast beef sandwich, pulled pork sandwich or meatloaf sandwich. It’s a nice switch up from PB&J and lunchmeat.

#6: On the power of leftovers: Get yourself a good microwave safe dinner container. You know, the ones with the sections. This way you can stuff leftovers in that and as long as they have access to a microwave they’ve got a hearty hot lunch.

#7: Pop a couple quarts of popcorn, not too much since it goes stale in a couple days, and season it with some interesting spices. Whether it be cinnamon and sugar or curry and garlic, you can make a whole batch and stuff them into baggies for instant snacks.

#8: The old stand by! I purposely make/order extra pizza whenever we have it so I can snag a few pieces to make up for lunches. Even if there is no microwave we all know pizza still kicks ass cold.

#9: This is cheating, but I have to say I’ve done it. Good frozen dinners. When I’m going to whole foods, I’ll snag up some good organic Annie’s frozen dinners or something of the like just in case I’ve forgotten or something came up and I’ve not had time to make a lunch. It’s a good ass saver. Also cheating, but canned soup. Texan particularly likes this one, especially in the winter. A can of soup will prove to be a good meal and a good switch from a typical sandwich lunch and also serves as an ass saver in those times where the lunch was the last thing on your mind.

#10: Make them ahead. This is probably the best tip. You CAN make several sandwiches ahead and pack several lunches, especially PB&J which keep great in the fridge for a couple days. Then it’s a grab and go thing and you don’t gotta sweat.

It’s amazing how something as simple as a lunch can turn into such a big deal when you aren’t prepared. For me anyway. I like to have as much of an arsenal as possible, but sometimes (like lately) it just doesn’t work out that way. So until they make a robot that can do all this for me, I figured I’d share in some of my tips in case you can sympathize with my lunch-hell-panic.

Onion Sausage Toothpick Things

When I took my trip to Ireland, I ate a lot. Like. A lot. 15 pounds and near diabetic coma a lot.

Quite a few things stuck out to me that I loved: black pudding, Lucky’s mom’s mashed potatoes and gravy (drooollllllll, sooooo good), the guiness, the TEA (Oh GOD it’s good!). Even the battered fish was so excellent. Fish in Ireland has no smell. I walked right up to the fish counter at the grocery store and stuck my nose in it, so did the Texan who HATES fish, and nope, not a scent. If you’ve ever been near a fish counter here in the US, you KNOW you can smell that briney, fishy scent about a mile away.

But I came back with a simple obsession. Perhaps it’s because all the ingredients are available here or because it was something I could actually eat without rocketing my blood sugar. Either way, I’m an addict.

One night when Lucky was having a party at his place, Lucky’s mother made these little snack things. They were a piece of ham (though it was more like sausage), with a single cocktail onion and a single cube of cheese on each toothpick. I.ate.the.hell.out.of.those.

They are surprisingly good. Lucky gave me guff because he says his mother has been making those simple things all his life and why I would choose something so simple to bring back with me with such fervor is somehow funny. But I can’t stop eating them. And  everyone here that tries them is really surprised how good they are. How simple and how damn tasty.

So, first thing I did is I went to the store. In Ireland they are jars of pickled onions. Here, the closest ones I’ve found are called sour cocktail onions. And the jars are freaking TINY! Think like maybe a dozen little onions in each jar for like $4. Ugh. The things we will do for an addiction.

I’d put those on a toothpick with some colby jack, cheddar, or pepper jack, and a chunk of venison sausage and it was heavenly wonder. I ate that every single day, if not more than once a day. And then I ran out of onions. I’d gone through probably a dozen jars before I decided I’d try to make my own.

I went to a local market here and bought a bag of fresh mini onions. That was the first mistake. Those things are a PAIN IN THE ASS to peel. It was only later I learned you could use frozen. Duh.

I tend to like the onions really crisp, so I opted to do a fridge-type cure instead of canning because I didn’t want them going soggy. I figured how hard can it really be? A pickled onion, or a sour onion? Vinegar and salt, big whoop. I added spices for good measure because I wanted a spicy onion. Now THAT sounded good! So I added some red pepper flakes. And a whole jalapeno to add some spice to it.

Then I poured vinegar over it and let it sit in the fridge for 2 weeks.

Then I tried one, so excited! YAY! A seemingly endless supply of cocktail onions.

Epic. Fail.

It had flavor alright. It was spicy and the onions were firm and it tasted like biting into a huge crispy ball of vinegar. No. This wouldn’t work. I was pissed. I was heartbroken. I was back at the store buying more $4 a jar cocktail onions.

I’ve since seen several recipes to can cocktail onions, but I fear it. Mostly because they call for frozen onions. And the problem there is the between being frozen and cooking them, there’s going to be a soggy factor. And I’m NOT about to sit there and peel a million tiny little onions.

That doesn’t mean I’m not going to TRY to make my own. Even if those fail I can always use them in cooking. But still. It sucks. I really wanted this to work. And it didn’t. It was actually AWFUL!

I won’t give up my onion sausage cheese toothpick things. No way and you can’t make it, but I’ll admit a fail when there’s a fail. And this was a HUGE one. See, Martha Stewart never tells you THIS sh*t!