Tag Archive | recipe

Cranberry Pecan Muffins: The Baker’s Equivalent of Erectile Dysfunction

Remember how I was telling ya’ll how it was hard to find a good jar mix recipe? Well, here’s another one I tried. It’s called Cranberry Pecan Muffins. It sounded really promising. Dried cranberries, pecans, brown sugar. What’s not to love?

It was one of those recipes in my organizer I’d never tried, and I’m always up for finding jar mixes cause they are so damn easy to keep in the cabinet and grab and make at a moment’s notice, so I figured, why the hell not! Plus, muffins are so easy to freeze. Instant lunch snacks.

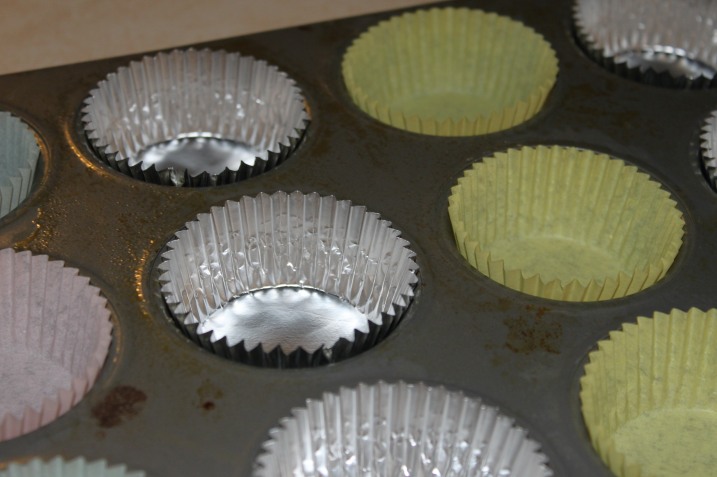
So I grabbed and lined my muffin tins.

I had greased them prior and then decided against that and went with muffin cups. God I hate how my tins always get so stained. Anyway! Then I added the sugars and flour.

Add in the yummy cranberries and pecans, with some baking powder.

Then I added the wet stuff

Mixed it up

Plopped them into the muffin cups

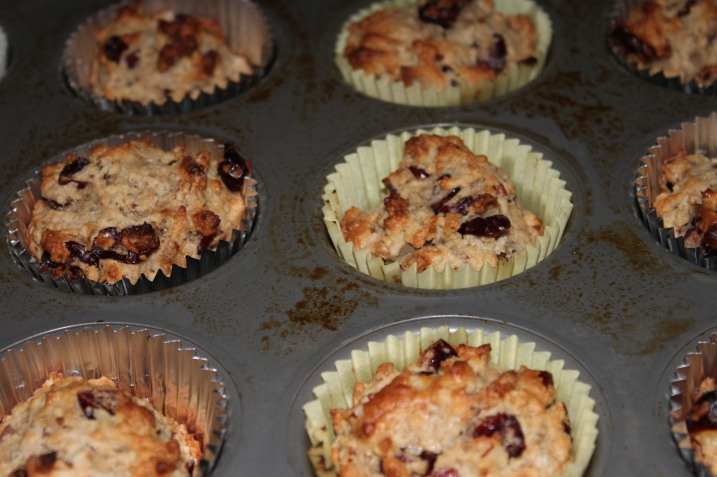
Put them in the oven. Baked them. And took them out.

I was slightly disturbed at this point because they didn’t really “rise.” They kind of kept the same shape as the batter when I plopped them in. Oh well, I figured, there’s a lot of food that doesn’t look good but tastes dreamy.

Since my blood sugar can’t handle a whole muffin, and I was about to eat dinner and couldn’t afford the carbs, I called the Texan down to try one.

“Try one of these muffins!” I exclaimed

“They look weird.” he muttered

“Yeah, yeah, just eat them!” I demanded

He picked one up, took a bite. And then he got that look on this face. Not a look of “ew” but a look of “what the hell.” And he cracked a little smile.

“Try one.” he said

“I can’t, too many carbs. How are they?”

“No, really, I insist, try one.”

This couldn’t be good.

I broke off a quarter of one of the muffins and popped it in my mouth.

It was warm cardboard with a sort of cranberry after taste. F*#king great.

I picked up the tin and dumped them in the trash. SONOFABITCH. WHO in their RIGHT MIND actually came up with this recipe but then decided it was good enough to actually put in a recipe book? Are you freakin’ serious?

Ok, was it gross? No. It wasn’t puke gross. But it was nothing. It was like dry brittle pecan cranberry crap. I HATE WHEN THAT HAPPENS! It’s gotta be the baker’s equivalent of erectile dysfunction: You get so excited at the prospect only to find out the damn recipe is completely flaccid no matter how much you are attempting to will it into deliciousness. And even if it’s NOT your fault because it’s not your recipe you still FEEL like it’s your fault and you start apologizing and turning red faced to the other party:

“I’m sorry, honey, I really tried, I don’t know what’s wrong with my muffins. Why does this keep happening to me?”

And if the party is worth anything as a human being they will respond “It’s ok, dear, it happens to every baker.”

UGH! Martha Stewart I am not.
Holy Sh*t I CAN Eat That: Broccoli Salad

As you well know by now, I’ve got to watch my blood sugar. I come from a long line of people with diabetes. I have to watch my blood sugar like a hawk. My numbers are kept super tight. A fasting of under 95 and under no circumstances am I allowed to let me sugars get above 120. And I’ve been taken off my medication, which I’m both THRILLED about and pissed about because it means an even STRICTER diet. If you know ANYTHING about diabetes, you know that this basically means I can eat air. And that’s about it. If you aren’t insulin resistant in any way and have perfectly working beta cells, you can probably pull off those numbers while eating a banana split everyday. Us beta-cell-handicapped cannot. I can’t eat half a cup of plain yogurt with blueberries on top without spiking higher than that.

Finding things I can shove in my face that aren’t cheese or meat has become increasingly difficult. So I was totally thrilled when I found this recipe buried in “never tried this” pile.  I’m pretty sure I got this at my county fair a few years back. The extension office was giving away free recipe booklet things and I think I snagged this one up.

First ya take some sour cream

And add  in some ranch dressing mix and some mayo. I used miracle whip for this cause I thought it might give it a little bit more zing.

Now chop up some broccoli

And some cauliflower

And throw them both in a large bowl. Now throw in some frozen peas, too.

Toss the veggies together a bit, add a couple of chopped green onions, and dump the sour cream mixture on top of it an mix the crap out of it.

Chill it in the fridge overnight to gather flavor and top with bacon bits before serving.

The verdict: It was pretty damn good.

Honestly, I would buck up the ranch a little bit next time just to give it more flavor and funny enough maybe try regular mayo. The miracle whip didn’t really seem to add any zip to it.

But this is a good recipe for anybody really, especially if you are looking for a sort of primal or diabetic friendly recipe. Ok, yeah, it has mayo, which isn’t “primal” but it’s not the worst splurge ever. Tons of fiber, raw, pretty damn healthy!

———

Broccoli Cauliflower Pea Salad

1 bunch broccoli

1 bunch cauliflower

1 bunch green onions, chopped

1 10 oz package frozen peas

1/2 cup sour cream

3/4 cup mayo

3 TB ranch dressing mix, dry

bacon bits

Chop broccoli and cauliflower into bite size pieces. Toss with green onions and peas.

In separate bowl, mix sour cream, mayo and dry dressing together. Add to the vegetables, stirring to coat.

Chill overnight.

Before serving, top with bacon bits.

The Perfect Italian Beef

I love Italian beef. I’m also a Chicagoan, and I’m going to tell you right now that outside Chicago, there is really no such thing as Italian beef. I’ve been everywhere, and it just don’t cut it. It’s like trying to get a Chicago hotdog out of Chicago, A Philly cheesesteak outside Philly. You can do it, just ain’t the same.

So many of my friends that move out of state tell me at one point or another how they miss Italian beef. It is REALLY good.

My BFF’s mom actually sent me this recipe years ago and I made it ever since. Is it true to form Italian Beef from a greasy hole in the wall in Chicago, no. But it’s still DAAAAMMMMNNNN good. In some ways it’s BETTER than a greasy hole in the wall in that instead of being shaved beef, it’s chunked and meatier and heartier. I’m drooling thinking about it.

It’s perfect because it’s a crock pot recipe. That means minimal work. And maximum flavor. I made it for super bowl because it can be made the night before no problem. Actually gathers flavor that way.

First, get yourself a chuck roast. I use grass fed.

Dump that bad boy in the crock pot with some oregano, red pepper flakes and some onion soup mix.

Now add a jar of peproncini’s with the juice. Mind you you don’t have to cut the stems off, they get nice and soft and you can do that after they cook if you want and just make sure not to serve any up.

Now dump in a can of beef broth.

And a can of French Onion soup.

And in 8-10 hours, you’ve got a soupy, delicious, meaty, spicy mess.

When you serve that puppy up on some crusty italian bread, or french bread, don’t skimp on the juice. A real Italian beef should be so soggy the bread is kind of falling apart.

It’s got some spice to it too, it’s not at all wimpy, so if you like your spice, this is for you. And it’s SO damn good. Freezes AWESOME too!

I never ask this of you but don’t question me on this, just make it. It’s freakin GLORIOUS.

————

CP Italian Beef

3 lb chuck roast

1 can french onion soup

1/2 bottle peproncini and 1/2 bottle of juice if you are using large jar, whole bottle of juice and peppers if it’s a small jar

red pepper flakes to taste (I use about 1/2 tsp)

black pepper to taste (about 1 tsp)

1 can beef broth

1/2 package of dried onion soup mix

1-2TB oregano

5 cloves of crushed garlic.

Put everything in your crock pot. Keep on high 4 hours, reduce to low and cook until tender, about 4-6 more hours. Break the meat the stem the peppers with a fork when they are tender, discarding stems when it’s served. You can make this the night before. Serve on hard rolls.

Spray It On Thick, Baby

Scent isn’t only my job, it’s my life. I am VERY olfactory. I can relate scents to memories, people, etc. I actually remember someone’s scent before their face. My friends tell me I have “werewolf smell.” I swear I can smell something going bad in my fridge from the second floor of my house.

I LOVE to have a nice clean scent in my house. I love any good scent in my house. And my job is actually creating scent, so it works perfect. But I realize that for most people, this isn’t the case. And even I sometimes run across something in the store and go “OH! I LOVE THAT!” and of course I buy it and go home and try to recreate it LOL. But nonetheless.

I noticed a clean scent in the house can actually trick people into thinking your house is cleaner physically than it actually is. I can’t, of course, smell my own house. My niece, nephews and my BFF all tell me that my house is their favorite scent. Yet they can’t describe it to me. Well, call me Elizabeth Arden.

I’m super sensitive about the smell of my fabrics. I don’t know why, but I LOVE the smell of fresh fabrics and linens. I make my own freshener sprays most of the time, but I have to say that I do love the smell of Febreeze. But it’s damn expensive. Lucky for me, I also love the smell of fabric softener. As a matter of fact, I can’t tell you how many times my other “were nosed” friend of mine and I have gone to Target only to spend a half hour in the fabric softener section opening caps and smelling them.

I was surprised when I was shuffling around Pinterest (if you haven’t joined that site yet, do it. Now. And realize that I’ve just caused an addiction) I saw that someone had made homemade febreze from fabric softener. This didn’t surprise me, what surprised me was all the people that thought this was a NEW idea. Man, I’ve been doing that for YEARS. It’s gotta be going on a decade now. And it’s GREAT stuff, better than the real thing, cheaper, longer lasting and you have more control over the scent. So go on and go sniff the laundry section and pick out your favorite.

This isn’t my favorite, but they didn’t have my favorite in stock. But this is pretty damn good, and it was on sale.

Now grab yourself a spray bottle. A good one too, one that does fine mist.

As far as the “amount” goes, I tend to use LESS than most “recipes” call for. Most recipes call for a 2:1 ratio water to softener. I find that this is nice and strong BUT it kind of leaves a real slick type coating on my fabrics. I find filling the bottle 1/4 of the way with the softener and the rest of the way with distilled water works great. But it’s really up to you. Test and try.

Some recipes also call for vinegar. I skip that. I like my stuff with just water and softener. But again, it’s up to you. Make sure you test an area first too, just to make sure your fabrics can handle your little experiment. I know some of the real cheap softeners can leave oily lookin stains on stuff.

So, pour it into your bottle, add the water, and shake like hell.

Label it cause, if you are anything like me, someone might think it’s meant to clean the counter tops and well, nothing says GROSS like when you realize the counter where you prep your food is covered with a film of fabric softener. Downy seasoned chicken is freakin’ GROSS.

I use dissolvable labels, which aren’t real conducive to nice writing because they come on a FREAKIN’ ROLL but they are easy to get off unlike regular labels.

And there you have it, homemade fabric freshener for super cheap! It works great, too, my house smells lovely.

I don’t know about you, and maybe I’m just a dork, but new cleaning stuff makes me so happy, especially when it’s something that smells great. Nothing motivates my cleaning fits like a freshly scented brand spankin new load of counter cleaner or scented scouring powder. It’s the simple things in life, after all.

Surrender Bread

If you’ve read my previous posts, you realize me and bread are mortal enemies. Bread hates me, and I hate bread. Well, I LOVE bread. My body hates bread but more importantly I hate MAKING bread. And bread does NOT like me. It doesn’t like coming out right for me. It wishes me dead.

But I battle the beta cell killing diabetic poison thing almost every week and hope and pray for mercy. I have a bread machine because, damnit, I paid a lot for it and it WILL come through!

I found a recipe in my file box for French Baguettes. It required ONLY the dough cycle on the machine. AHA! I can try to do the hybrid thing, that way if it fails I will have TWO things to blame: The oven AND the bread machine!

My bread machine actually has a preheat function so I don’t have to worry about precise temperatures. Score.

The weird thing about this recipe was it didn’t call for a second rise. That’s really weird. Maybe I wrote it down wrong. I dunno. So, being that this is the first time I tried this recipe, I’m going to do it like the recipe says. Next time, I’ll try a second rise.

So, first, grab the water. Cause the bread machine book thingee tells me I have to add the liquid ingredients first.

Now I add the dry stuff.

This is how it looks before I turn it on.

Now I flip it to the dough cycle. Which kneads it and gives it a first rise.

Don’t let the simplicity fool you. Bread is a moody, evil bitch. And I’m done being fooled by simple recipes when all I ever get is freakin’ door stops.

So anyway, it’s set for 2 hours. So I go and proceed to do some knitting or some other such thing to keep my nervous mind off the probably going to fail dough that I’ll have to bake.

Once it’s done, you gotta roll it into wands. Normally, this is where you’d have a second rise but, as I said before, recipe doesn’t call for it.

It said to cut slits in the top, which I did.  It also said to spray it with some water or put a pan of water in the oven to make it crunch. No. That’s too much work for something that I was pretty certain was going to be disappointing. I’ve learned my lesson when it comes to the yeast beast. I refuse to put too much heart and soul into the bread unless I know it’s gonna come out.

And of course, I forgot to take a picture of the finished product. Sorry.

But I can tell you it actually came out good. Was it super light and fluffy? No. But it wasn’t super dense either. It was good enough that all try baguettes were eaten at dinner. So this is something I’m going to try again, perhaps this time with a second rise and with the water misty thing.

*squints eyes* Make no mistake. I still don’t trust bread. I still think it’s out to get me. I still think that at any time, at any place, it’s going to fail on me. Fool me once, shame on you….Fool me twice….

———-

French Baguettes

1 cup water

1/2 tsp salt

2 tsp yeast

1 1/2 tsp sugar

3 cups of bread flour

Use dough cycle on your machine and add ingredients as called for in your bread machine instruction book.

Remove dough, divide into 2 or 3 pieces. Roll into skinny wands. Place on baking sheet coated with cornmeal. Slash top with 3 diagonal cuts.

Place in 450 preheated oven. Bake 12-15 minutes depending on thickness.

When done, they should be deep brown and sound hollow.

Place water in the bottom of a pan in the oven or spray with mist of water for a crunchy crust.

Desert Chicken

Ok, so it’s called Arizona chicken, but still…I was in bed using my handy dandy recipe app for my IPad and snagging recipes offline. I got this one from the Taste Of Home site. It was a bit of a pain,considering I had to do it in two batches since I only have one cast iron skillet and I refuse to cook in anything else. We eat a lot of chicken in this house because I absolutely LOVE the chicken from our local co op. The chickens are raised scratching for bugs and whatnot, and only fed non-gmo corn on the off season. Well worth the price, and it’s SO tasty.

So, first for this recipe you are gonna need chicken. Officially the recipe calls for chicken breast but all I had was quarters and quite frankly I don’t buy into the fat is bad paranoia. I actually prefer dark meat and so does my blood sugar.

I cut those up into pieces. Then I busted our my food processor to chop my onion. Really, if you don’t have one of these yet. Get one. They are cheap and they save a TON of time!

My bird absolutely HATES the sound of the food processor, or loves it, I can’t tell. He’s always trying to imitate it. Hit that pulse button and show that onion who’s boss.

Now you are gonna have to chop some tomatoes. I got these German breed tomatoes, I used to actually grow them in the garden. They are a bit peppery and you can eat them like you eat an apple.

Now to their demise…

Do the same thing to the celery. Poor stalk.

Now slice up some mushrooms.

Now that that’s all done you are gonna heat some oil in a skillet to brown the chicken. I browned mine, then cooked them a little longer because they are pieces, not breasts, which take longer to cook.

Handy to have some aloe in the kitchen, like I do, because this stuff will pop from beginning to end. Ow. And it popped right onto my face, of  course. Damnit.

Now, remove them from the skillet and set them aside.

This recipe calls for olives. I instead used something called Muffelatta. Most people know muffaletta as a type of sandwich in New Orleans, or more specifically, as the famous olive relish ON the sandwich in New Orleans. I’m addicted to this stuff. Being so far north, good luck finding it. However, I found an appropriate substitute until I can make my way back to my dear Nawlins. It’s made by That Pickle Guy. He’s got a website where you can order the stuff and I’ll let you know now, it’s freakin’ HABIT FORMING. On crackers, hard boiled eggs, salads, OMG. It’s diabetic friendly too and very natural so I go through jars and jars of this, thank god my local costco now carries it. I had some of their spicy version in my fridge I decided to use for this recipe. Even if you DON’T like olives, I’m certain you will love this stuff. It’s heavy on the olives but does NOT taste olive-y, I don’t know how he does it, but he does it, and it’s damn good.

Now you are gonna put the tomatoes, celery, onion, oregano, garlic, olives, salt and pepper into the same pan and saute them.

Once you’ve brought that to a boil and simmered 15 minutes, add the chicken back in and simmer that 15 minutes.

Now add you mushrooms and cover, and keep simmering. I don’t have a lid for my skillet, so I just use a cookie sheet.

I had to do mine in batches, so I kept the batch in the oven to warm. And it looked so damn good.

And it WAS so damn good. It had a nice amount of spice and brown to it, but I don’t know if that’s from the spicy olive relish or what, but this is certainly a keeper.

It’s something different to do when some chicken is on sale, a break from the same old fried, or coated, or steamed, or bbq chicken. But I still suspect the olive relish was the culprit. Viva New Orleans!

—-

from Taste Of Home

Ingredients

  • 6 boneless skinless chicken breast halves (4 ounces each)
  • 1/4 cup canola oil, divided
  • 1 medium onion, sliced
  • 4 cups chopped fresh tomatoes
  • 2 celery ribs, sliced
  • 1/4 cup water
  • 1/4 cup sliced pimiento-stuffed olives
  • 2 teaspoons garlic powder
  • 2 teaspoons dried oregano
  • 1 teaspoon salt, optional
  • 1/4 teaspoon pepper
  • 1/2 pound fresh mushrooms, sliced

Directions

  • In a skillet, brown chicken on both sides in 2 tablespoons of oil. Remove and set aside. In the same skillet, saute onion in remaining oil until tender. Add the tomatoes, celery, water, olives, garlic powder, oregano, salt if desired and pepper; bring to a boil.
  • Cover and simmer for 15 minutes. Return chicken to pan. Simmer, uncovered, for 15 minutes. Add mushrooms; simmer 15 minutes longer or until a meat thermometer reads 170°. Yield: 6 servings.

Jalapeno Vinegar Goodness: So Simple It’s Evil

One year I had a buttload of jalapenos come in from the garden. They aren’t so good canned, and I didn’t want to dry them, and I couldn’t possibly use all them quick enough so I decided to make jalapeno vinegar.

Since that fateful year, I ALWAYS have at least one gallon going at a time. This year, I’d run out. It’s only January! I won’t have jalapenos again until summer. Rather than do without, I went ahead and found some super cheap on sale and made a couple of gallons.

This stuff works WONDERFUL as a marinade for chicken, fish or even beef (hmmmm, soak a roast in it, hmmmm, so good). It’s spicy, but it’s good, and although it does have a vinegar zip in the meat, it also makes the meat flavorful and super tender. And it’s SO easy to make.

First, grab a couple of containers. I use gallon glass cider jugs. You can use mason jars just make sure you either have a plastic lid for it or cover the band and lid that comes with them with plastic wrap so that the vinegar doesn’t corrode the metal.

Wash them out and sterilize them.

I’m always excited at the thought of jalapeno vinegar! I’m equally as excited to use my cider jugs. I don’t know why but I love these things!

As you can see, my dog shares in my excitement. Always eager to help.

She’s my girl and she’s also elderly, so I cut her a break. She does a very good job of holding down the floor and she’s proud of that. I love her so much!

Anyway!

Now I’m going to give you a tip that you MUST NOT avoid. Do NOT skip this step!

Wear. Gloves.

Yeah, I thought it was BS too. Until one year I chopped jalapenos for fifteen minutes and didn’t feel the burn until an hour later. Burning, BURNING. Like FIRE burning, like a grease burn. It was under my f(@king nails! I used water, soap, cold water, ice water, aloe, tried soaking my hands in milk and nothing worked. I tried to sleep with ice packs on my hands, but for a full 24 hours, it BURNED LIKE HELL.  And NOTHING gets it off, trust me. I searched the internet for HOURS for remedies and NOTHING worked. So please for the love of God and everything holy, WEAR FREAKIN GLOVES.

Ok, pretty sure I got my point across.

Now grab your peppers.

Aren’t they beautiful?

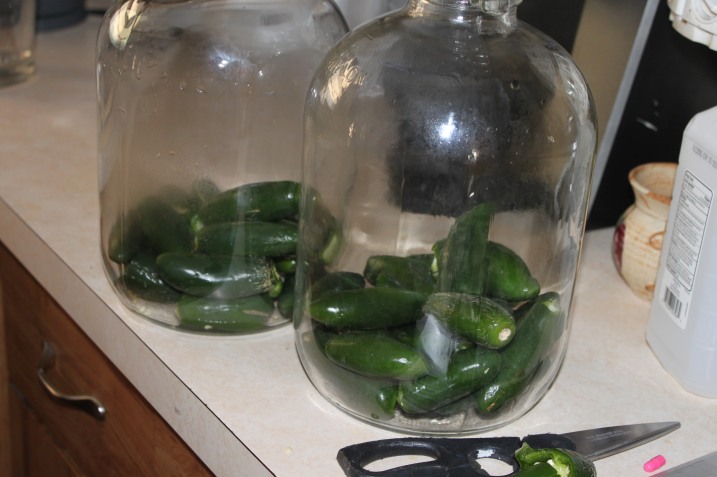
Now, you CAN roast them. I believe that most people will TELL you to roast them before making vinegar. I don’t. I’m too lazy and I don’t have a proper broiler so, I’ve always done them raw. Just make a slit on each side of the pepper with a sharp knife to allow the vinegar to really get in there. I also pop the stems off them.

Now stick them in your jug or jar. I usually fill it nearly half way because I like it strong, but do it to taste.

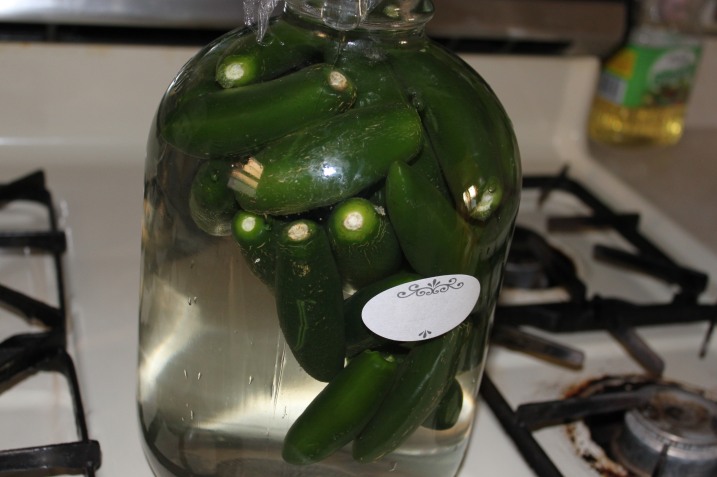
Then, fill the jug with vinegar. Just plain old white vinegar is what I use. The cheap stuff that comes in huge gallons.

Now, label it. Or I do. I found Ball makes dissolvable canning labels, which are awesome. Only problem is they come in a roll so they are really hard to write on and you can’t really use marker because it kinda bleeds.

Now you’ve got yourself some jalapeno vinegar. Wait at least a month before using it so it really soaks up the jalapeno flavor. Soak your chicken or beef in it for a few hours to overnight and just cook. Usually it doesn’t need much seasoning after a good soak! I’m so excited!

So is the dog!

Ok, well I’m sure in her dreams she’s totally excited for my jalapeno vinegar. That she can’t eat. And would probably turn her nose up at.

You get the picture 😉

Fancy Quesadillas

I ran across pioneer woman’s spinach mushroom quesadilla recipe. Living with a Texan, I know he’s a big fan of those.  He’s not usually a fan of mushrooms, but he will tolerate them and I think he’s growing to like them. He likes spinach a whole lot. Mr. B loves both, so I figured this was a win win.

Usually my quesadillas are just tortillas with Chihuahua cheese smashed in the middle and pan grilled, so the idea of making my life harder with a fancier recipe is of course appealing. Never in my LIFE have I spent so much time making a damn quesadilla.

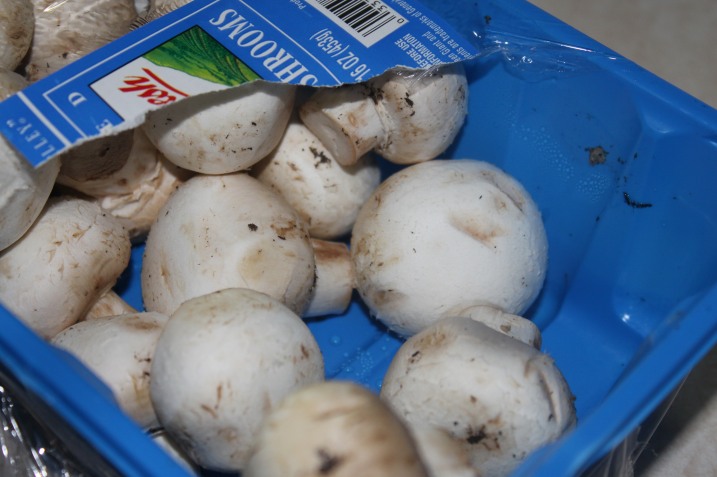
First you take some mushrooms and slice them up.

Being that I’m the lazy, gadget wielding bitch you’ve come to know and love, of course I didn’t slice these by hand.

Never thought mushrooms could look ominous did ya?

See how easy that was?

Now, you melt butter in a pan. I happened to have a pan handy, however, I’d used said pan to fry bacon a few minutes before. It’s cast iron, so it really soaks up the bacon juice. Instead of washing it, I went ahead and drained off all the bacon fat and just stuck the butter in there. I mean, really? What’s NOT better with bacon fat and drippings?

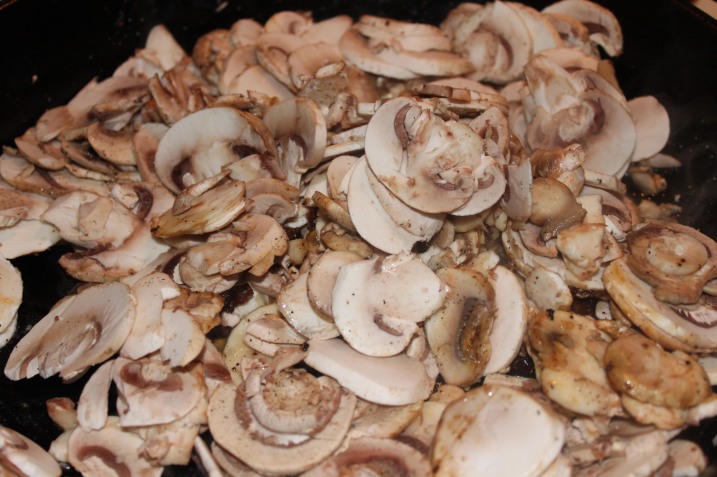
Now add the mushrooms and sprinkle with some salt, and saute them up.

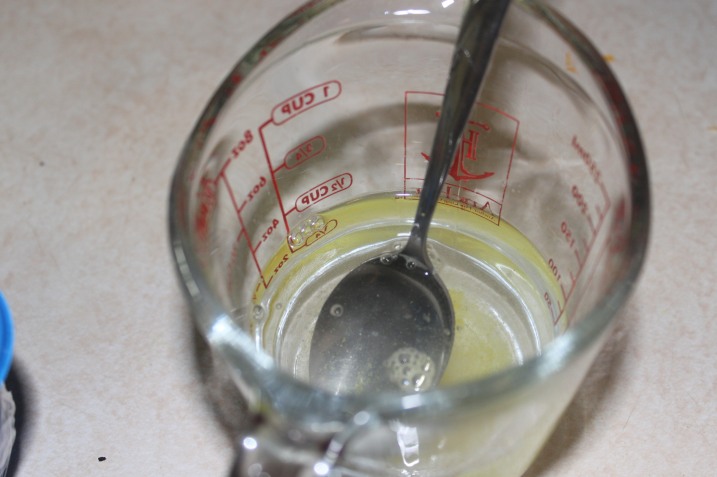
Now the recipe calls for adding wine. Well, I didn’t have any wine that wasn’t super sweet Christmas wine. I also don’t really typically like wine IN my food. So, I did what any woman in my position would do. I used chicken broth. Actually, I made chicken broth from granules.

I went ahead and poured in the broth.

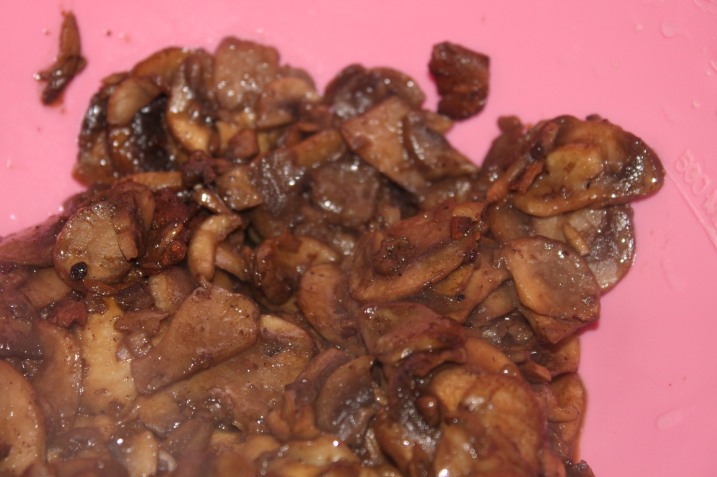
You cook that until nearly all the liquid is reduced and place them to the side.

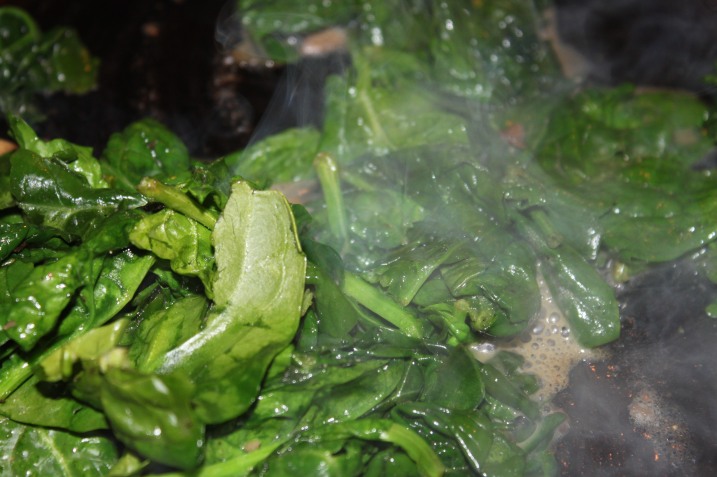
Now you basically do the same thing with the spinach except since spinach can’t cook that long you only add a few tablespoons of wine, or in my case, broth.

Now you put those two things together to the side.

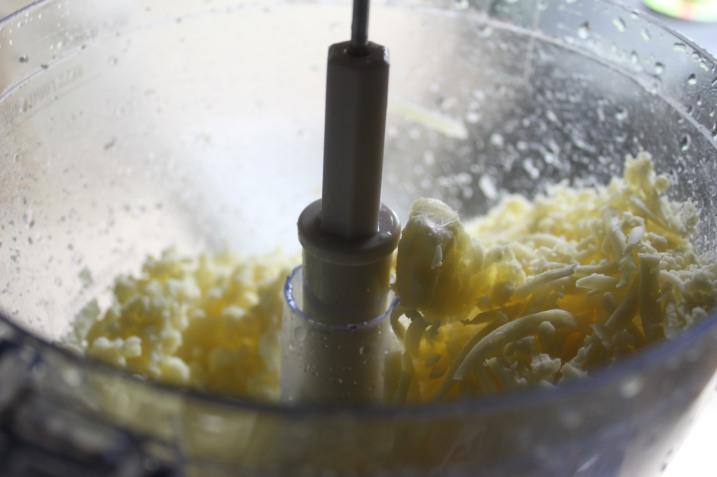
Now you are going to prepare your cheese. It called for Monterey Jack, which I had some of. I also had some cheddar, swiss and pepper jack hanging around in small amounts in the fridge. So I mixed them all together and grated the crap out of them. Not by hand of course. Food processor. Hello!

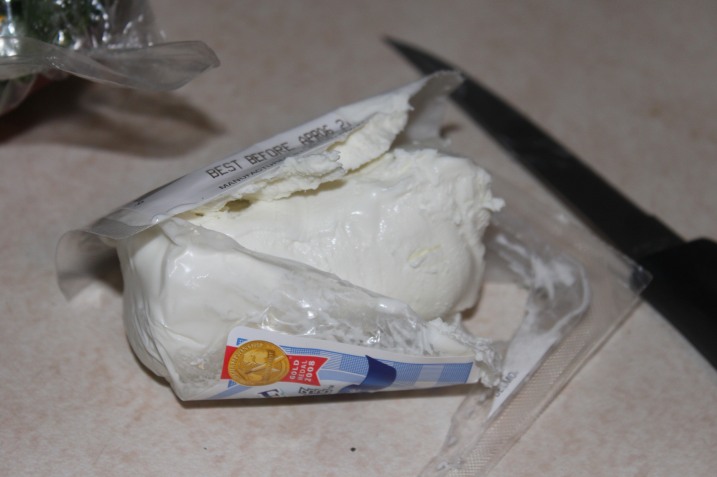
I opened up my goat cheese, which this recipe calls for and I thought what a cool addition. I’d never heard of adding that to a quesadilla before. By the way, opening up goat cheese is a pain in the ass. Easy open container. Right.

Now, we start assembling the quesadilla. The recipe says to spread butter on each side. I decided to melt butter and brush it on one side right before going into the pan and brush it on the other side once I’d flipped it. Saves the mess in my opinion.

Now you put some cheese inside the tortilla.

The shadow is optional. Sorry.

Now you place some spinach mushroom filling and more cheese in there.


There’s that damn shadow again.

Ok, then you dot the filling with goat cheese and place another tortilla on top. Butter the tortilla and put the buttered side face down in the pan. Mind you: This recipe says to GRILL them. Well, I don’t have a grill on my oven so this will have to do.

I didn’t spread it around in the tortilla too much so it’s bumpy in the middle. I’d rather have a pregnant quesadilla going into the pan than a sloppy mess on my floor trying to hold it together while it goes in the pan, or, worse yet, the cheese oozing out the sides while it’s cooking. I’d rather smoosh it while it’s in the pan to desired non-pregnant-ness.

Then butter the side that’s face up and flip it.

And you’ll have this in a few minutes.

How was it? It was good. It wasn’t amazing, again, like I expected. BUT. I don’t think that’s the recipes fault at all. I made serious variations to it.

I didn’t grill it, I didn’t use just monterey jack cheese, I use chicken broth instead of wine and I used low carb tortillas.

Mr. B thought they were amazing, Texan’s only complaint was that he wasn’t a fan of spinach in his quesadillas apparently. Spinach yes, in this, no. Keep in mind as well that this family is accustomed to VERY plain quesadillas. Take ANY family who’s used to plain something and give them the fanciest something and they may not love it. It’s just how it goes.

However, I’m still planning on making the REAL version. And I suggest you do too, cause it just sounds so damn good.

Orange Dried Pineapples

I dry a lot of food. It’s easy, stores forever, reconstitutes well especially when you have one of those “I ran out of fresh” whatever moments, and they make great snacks and mixes.

They had pineapple on sale. My only regret is I only bought two. I love pineapple. My blood sugar doesn’t.

I also had some left over orange juice in the fridge from New Years. Orange juice is only a diabetics friend when you go hypo and need a quick boost.

Pineapple. Orange Juice. You get the picture.

I’m always looking for new and creative ways to dry fruit. Thank you Mary Bell for all your ideas! Man, that woman is wonderful.

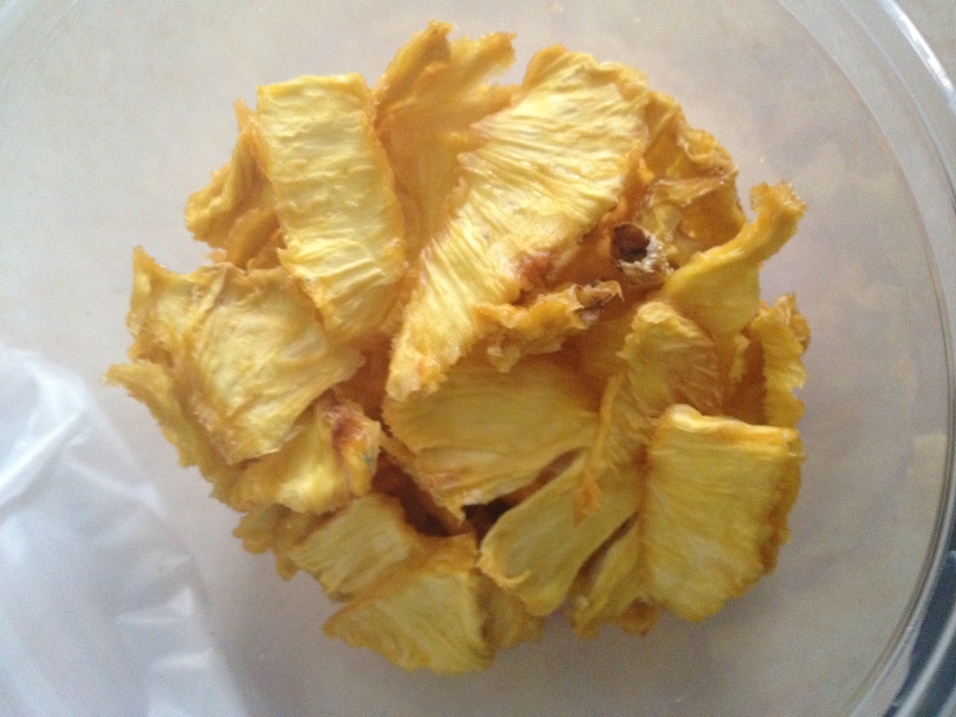
I decided to try soaking some pineapple in orange juice overnight and drying it to see what it came out like. Cause really? Orange and pineapple. Heavenly.

In case I haven’t bragged enough, here’s my big bad dog dehydrator.

And the easy peasy slide out drawers.

So I soaked the pineapple overnight. I had to test some to make sure it was good before I dried it. Ok, I had to test several pieces. Can never be too safe. It was delicious.

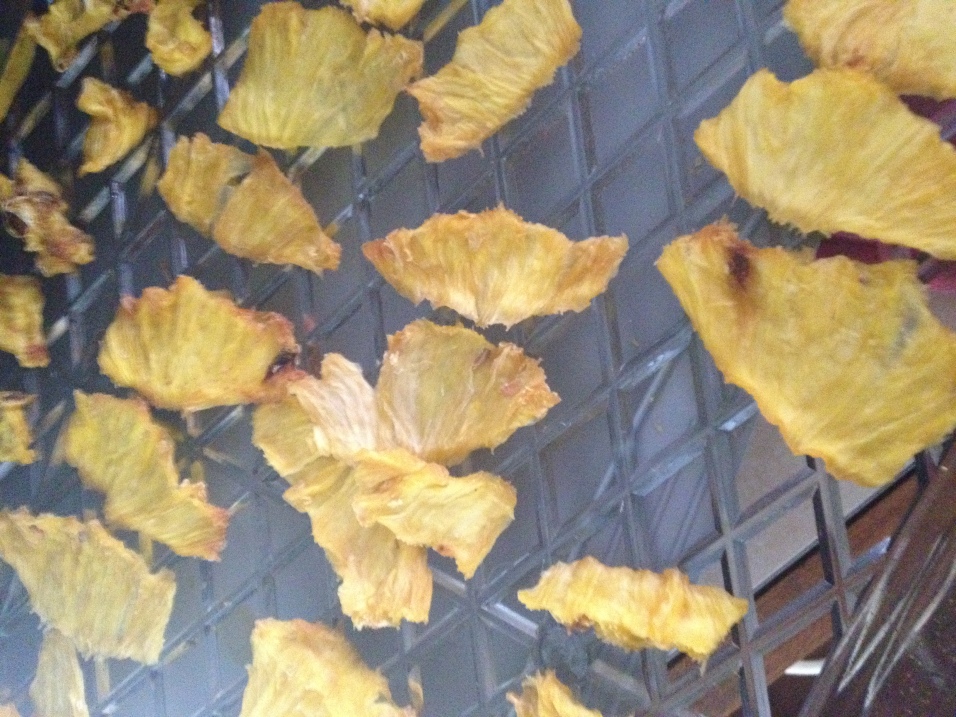
Then line them up on the trays.

It took about 10 hours on the setting I had to make sure it was totally dry. There should be no moisture in it, but not be dry and brittle.

And into my little plastic tubs they go. You might remember these tubs from an earlier blog. They are endlessly useful.

If you cut these into rings and dry them, they look like flowers and make GREAT decor for the tops of cakes. They also make great every day snacks. You can reconstitute them for different recipes, for plain eating or drop them into some iced tea or lemonade for some flavor. They are so good, and stored properly, they’ll last forever.

I’m gonna have to keep myself away from these too. Although they are a nice primal snack, I can’t go overboard because of the sugar content. Be warned, they are hard as HELL to stop eating!

Chocolate Peppermint Ice Creamy Goodness

I love peppermint. I really do. Peppermint is one of those things that you LOVE or you HATE. I find it to be very polarizing. I’m certainly on the love end of peppermint.

I also love ice cream. Ok, I’m not technically supposed to EAT ice cream and I rarely do, but it’s a nice treat so long as it doesn’t send me into a coma. So when I ran across pioneer woman’s (yup, HER. AGAIN) peppermint ice cream recipe, I was dead set on trying it. Even though I know like 99.8% of her recipes DO send me into a coma. It was too tempting.

It also gives me a chance to use my handy dandy ice cream attachment for my kitchen aid. Gadget. I know. Too bad, live with it. You’re just jealous.

The thing has to be stored in a freezer in a plastic bag, and it gets arctic cold. It’s also nice because there’s no salt/ice BS to deal with. Just make sure it’s been frozen for 24 hours and pull it out. Mind you, mine stays in the freezer at all times because even though I don’t use it that often, when I do, I’m impatient and want it NOW.

I’ve only ever made very simple ice creams. I longed to make the real old fashioned egg and cream type ice creams that I’ve seen in old cookbooks. But I just never had the chance. I’ve made a couple of “pre mix” ice creams using heavy whipping cream, actually made quite a few of those (they were on end of season clearance one year at Meijer, ok so shoot me), but never really ventured into the cooked ice cream realm.

Her peppermint ice cream recipe calls for peppermint candies crushed up. Ok, that sounded good and I certainly had left over candy canes, but, her variation sounded better. Andes mints. Oh yes, and more yes. It would be like a heavenly version of mint chocolate chip. The day was mine!

It was a much more complicated recipe than I had imagined, really. With strainers and cooling and egg yolks. But it was worth it. If you do a google search, I’m sure you’ll find the recipe.

So first, you are supposed to measure out some half and half.

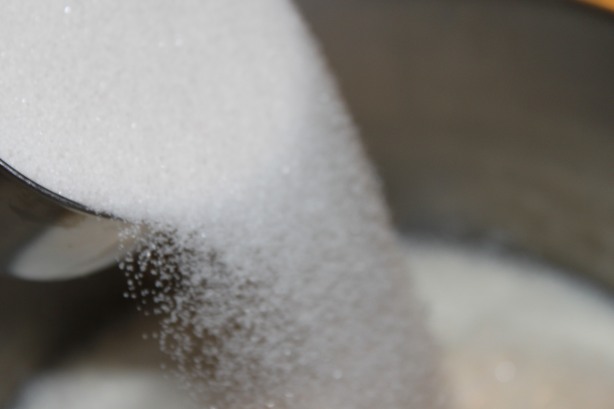
Pour that into a heavy saucepan and add some sugar.

Simmer that up until it’s dissolved. Meanwhile, grab a bowl to beat some eggs.

Now you’ve got to temper the eggs. This was a little tricky because you’ve go to drizzle the eggs into 2 cups of the hot half and half and whisk it quickly. I assume so the eggs won’t separate or cook. Then you pour it back into the pan, whisking and reheat it.

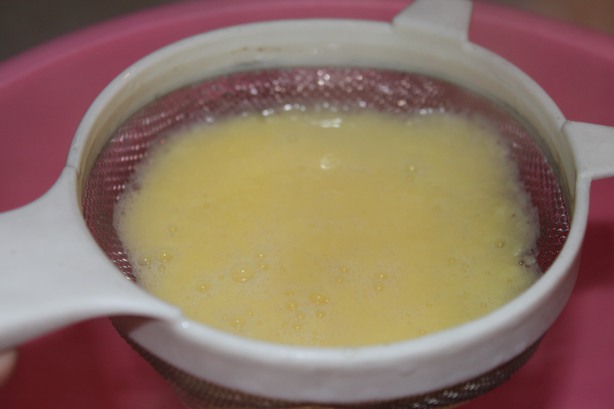
It turns into a yummy kind of custard. It gets real thick. And then, and this was a pain in the butt, you’ve got to press it through a mesh strainer into a bowl by pressing the liquid with a spoon to kind of force it through the strainer.

Then you add the heavy cream to it and stir in vanilla, etc.

And you’ve got to stick it in the fridge until it’s completely cool.

Now you get to put it in the ice cream maker! Yay! My favorite part! The damn thing is LOUD and it takes longer than you’d think to really get it even semi soft frozen, but it still rocks!

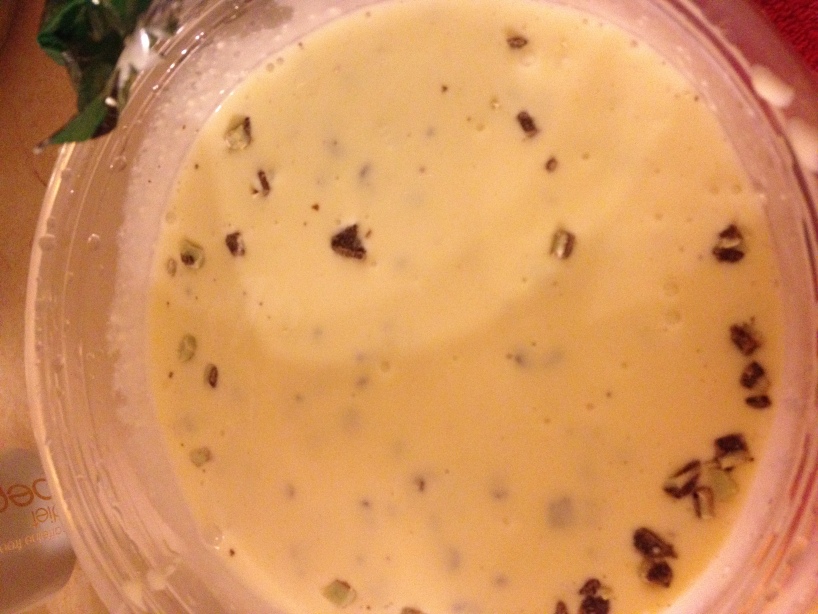
Once it’s completely it’s cycle, you add the Andes Mints. Now, the recipe called for chopping up the candies. Although I would have just stuck them in the food processor to do the job for me, when I went to the store to grab the mints for this recipe I found, and figure this out, that the Andes Chips (yes, they make those, pre chopped Andes mints, go figure) came in a larger package and were cheaper than the full size mints?  How much sense does that make? So I thought, screw it, less work for me.

I stirred it nicely and I had already put it in a freezer safe bowl, so no need to transfer it to one. Now into the freezer it went. Every couple hours, though, it needs checked and mixed otherwise all the mints will sink to the bottom.

It takes about 24 hours for it to freeze completely. Mind you, if you’ve never made home made ice cream before, don’t expect it to be the same consistency. It won’t. Home made ice cream is much more solid, and needs taken out of the freezer a few minutes before you intend to eat it. That being said, it’s a whole lot better than store bought. And a lot better for you too (NOTICE I did NOT say it’s GOOD for you, I said it’s BETTER for you than that non-grass fed GMO chemical store bought crap).


The verdict? It was damn good! And even better, it’s a great base for variation. You could add all kinds of stuff to this base ice cream and it’d turn out delicious. You can taste the cream, the egg, the vanilla. I love stuff like that! Instead of typical ice cream, where you taste SWEET or you taste CHUNKS of whatever, in this you can taste it all. Worth a shot if you have never tried it.

Just…I plan on laying off this for awhile. Ice cream is good, but dangerous for me, especially being slightly lactose intolerant. I don’t know how long this will last because I’ve gotten the idea in my head to make raw milk ice cream.

Yeah, if you don’t hear from me for a few days, I’m just in the diabetic coma ward. I’ll be fine.