Tag Archive | recipes

Crunchy Chicken Boobs

As you probably well know by now, I’m going through my “I never did this” recipes and am finding quite an overwhelming stash to get through. I also had gone a little crazy on buying chicken breasts. They were on sale. And a REAL good deal. I mean. Real good. They had to be because I actually don’t like chicken breast. I find it way too dry. I much prefer whole chicken, from my co op actually, but it was just way too good a deal AND I have so many recipes that call for chicken boobs.

When I ran across the recipe, it seemed pretty easy. And since that day I seemed to be being super lazy, it was a perfect fit.

First, grab some chicken boobs and slather them with mayo. Well, that’s what the recipe says anyway. Says more specifically to coat them with Miracle Whip. Which I didn’t have. So I used ranch dressing. Yes, I had mayo, but it was REAL mayo, and it probably wouldn’t add that “zip” the recipe was looking for so Ranch dressing seemed the way to go.

God that looks vulgar. Anyway…

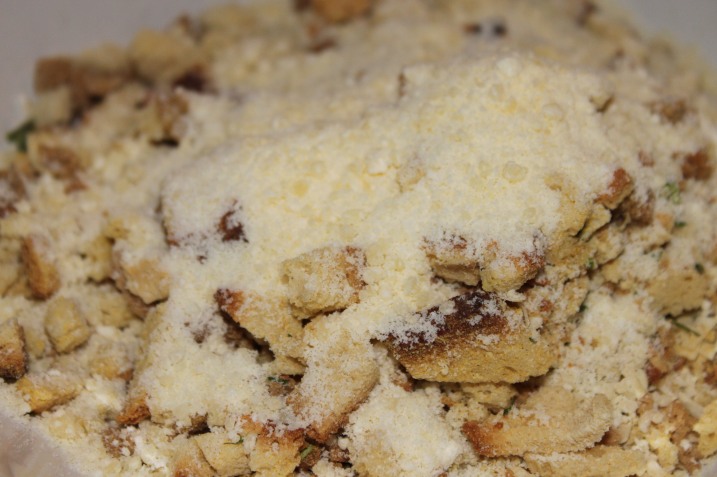
Now you are gonna pop open a box of stuffing. Stove Top style. I used the chicken flavored one. And to that add 1/4 cup of Parmesan cheese.

Mix that up real good. Don’t grind it or crush it, just leave it as is.

Now dip the chicken in it and coat it with the stuffing mix.


Now, slap those on a foil covered cookie sheet and stick it in the oven at 375 for 30 minutes. Well, mine actually took 45 but that could be the size of the meat.

And out it comes.

See? Easy peasy. Not even worth writing a recipe down. I love recipes like that, so simple they are in your head.

I ask my “testers” to tell me not whether the recipe is “good” or not, but whether it’s good enough to repeat because honestly, I’d like to get rid of some of the thousands of recipes I have.

The verdict on this was, and I was surprised, yes, it was a repeater. When I tried it it was nice and tender with an outside crunch and actually pretty pleasing. It’s a bit plain for me, but that could perhaps be because of the omission of miracle whip. This could EASILY doctored up and seems a good staple meal too. Maybe hot sauce? Thousand island dressing? Italian dressing even? It’s not exactly diabetic friendly, but it’s certainly NOT the worst thing you could.

Try it, doctor it up, let me know. I’m thinking this is one recipe for chicken boobs that might have some serious potential!

Stupid. Freakin’. Bread.

Right. So. By now you know the seething hatred between me and bread. Or you only have to look back some posts to figure it out. And here I am again. Trying to make it work.

You can’t say I’m not putting my part into this relationship!

I ran out of bread, store bought, and I didn’t feel like running to the store. The Texan also loves Hawaiian bread, and I had the ingredients for it. Stupid bread. I figured it’d do just fine as a PB&J sandwich bread.

So I held my breath and tried not to cuss too much. I grabbed out the ingredients. And I started. Again.

You’d think I would learn.

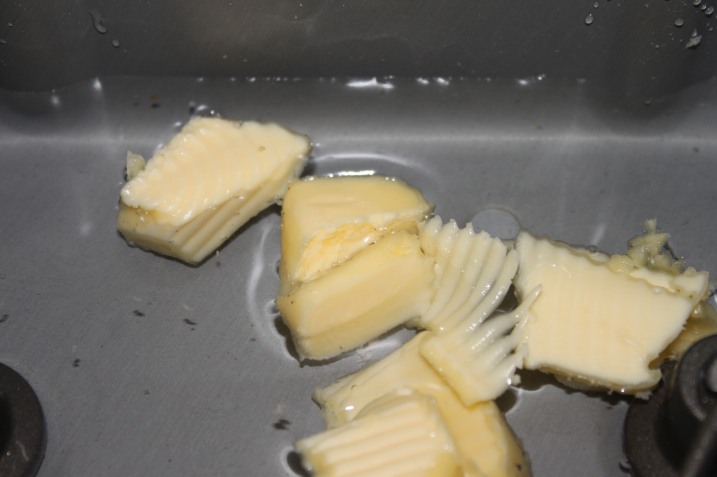
So, add the water and the butter to the stupid bread machine.

Now add the stupid cake mix. This is supposed to be what makes hawaiian bread different. Whatever. Stupid bread.

Now add the stupid flour. And the stupid yeast. In a stupid well inside the middle of said stupid flour mix.

I set the stupid bread machine to light crust and walked away.

I didn’t peak. I swear. I swear I swear I swear.

I walked away and did other things so I didn’t go mad.

And THIS, dear readers, is what I get!

Are you F*@(ING SERIOUS RIGHT NOW? What is THAT? It caved in?

This is the part where I normally curse a lot, complain, tell you that God hates me and try to figure out what happened.

I’m not doing that today. I’m on FREAKIN STRIKE!

Ugh.

I don’t care. They’re gonna eat it anyway and LIKE IT!

Joe Brownies

Thanks to the recipe app on my ipad, I’ve been inputting recipes for weeks. I’m not complaining, this actually gives me a chance to try all the recipes I’ve had and didn’t try. It “surprises me” with random recipes, so I’ve been making something different near everyday. I love it.

This time it gave me Coffee N Cream Brownies. Where I got the recipe? I’ve no idea. But it’s an interesting take on brownies using instant coffee. Let’s try this shall we:

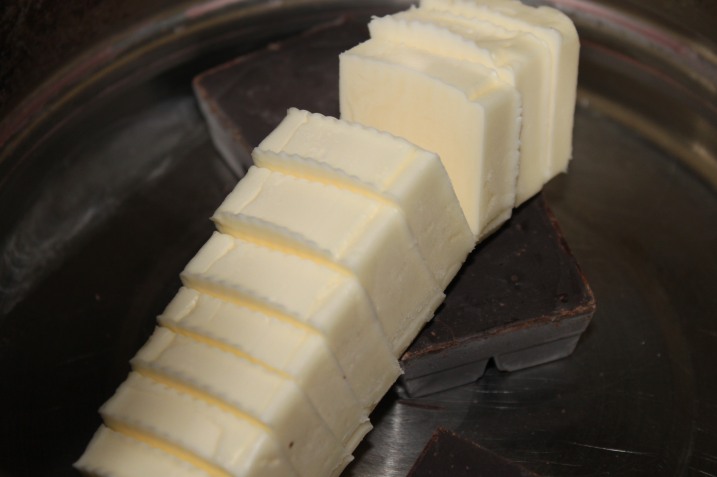
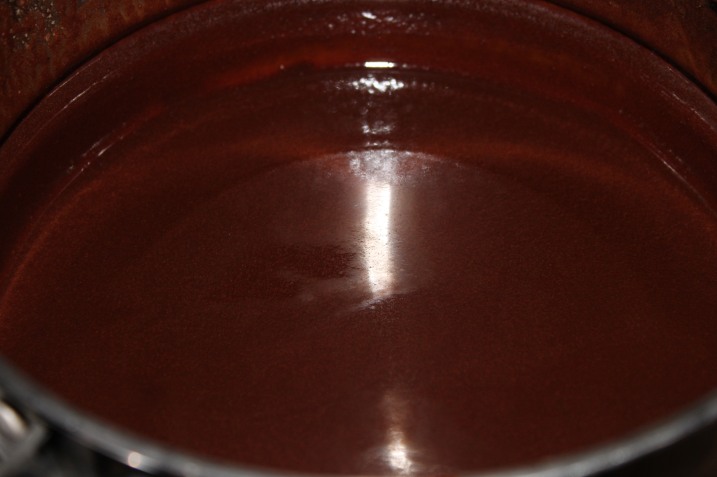
First, melt some unsweetened chocolate and butter in a saucepan. I have tons of unsweetened chocolate. Think I went bonkers on a clearance sale. Then I realized not many recipes actually CALL for unsweetened chocolate. Oh well.

I don’t care what anyone says, there is something sexy about melted chocolate

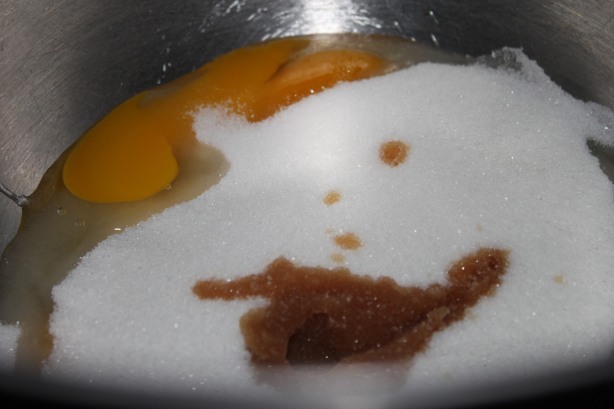
Then put some eggs, sugar and vanilla in a mixing bowl.

Stir in the melted chocolate goodness.

Now combine flour and baking soda

And add that to all the other stuff


Pour that into a pan and let it bake. Try not to taste it. Ok taste it. Just try not to eat it all.

While that’s baking, go ahead and make the frosting. It’s interesting because it calls for powdered sugar, soft butter, heavy whipping cream and instant coffee. The instant coffee doesn’t dissolve though, it leaves specks through the frosting. It’s SUPPOSED to dissolve mind you, mind didn’t.

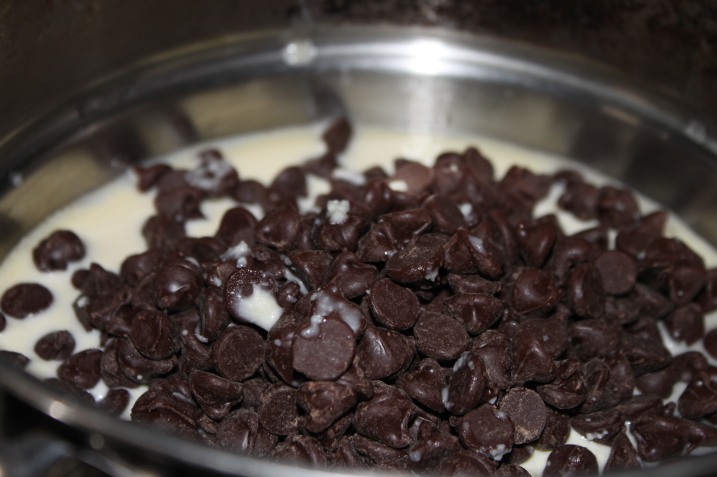
And make the glaze. Melting whipping cream and chocolate chips together.

While all that’s going, take out the brownies and cool them on a wire rack. Perhaps maybe it wouldn’t be a bad idea to maybe perhaps have a little taste of the brownie at this point. Maybe. Perhaps.

Once it’s cool enough, go ahead and frost it with the coffee frosting.

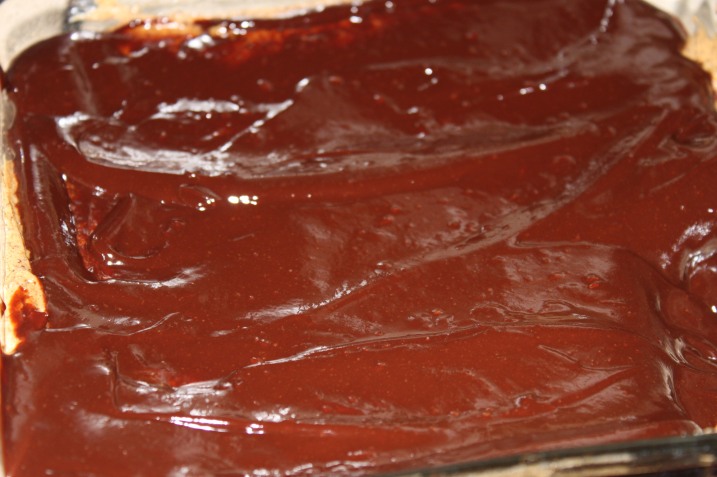
Now dump the chocolate glaze on it.

Stick it in the fridge to cool.

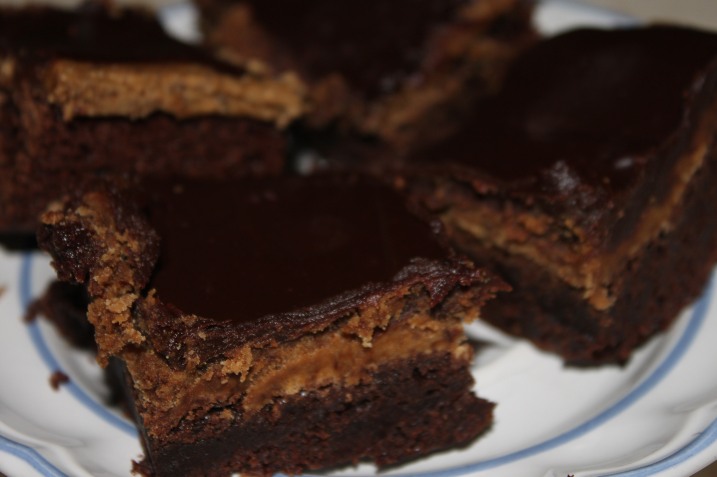
At first check, it didn’t appear the glaze was going to harden. Which is a great tragedy because I love taking half of everything I make and freezing it for lunches or snacks. But sure enough it did harden up quite nicely.

The verdict? Pretty freakin’ good. The coffee adds an interesting, bold taste that holds a little bit of bitter against a background of very sweet and I really liked it. I didn’t have a whole one because, well, there isn’t enough insulin in the world, but my “testers” really liked it. I ask them to judge my recipes not by whether or not they are “good” but whether or not it’s something they’d “request” again. I have literally thousands of recipes and the name of the game is to get RID of the ones that aren’t totally awesome. That is if I live long enough to make all of them.

So I suggest you try this if you love brownies. Course you shouldn’t do this if you are diabetic. Come to think of it, you shouldn’t do this at all because it’s bad for you. But it’s a yummy, yummy bad for you.

———

Coffee N Cream Brownies

Brownies:

1/2 cup butter

3 squares, 1 oz each, unsweetened chocolate, chopped

2 eggs

1 cup sugar

1 tsp vanilla

2/3 cup flour

1/4 tsp baking soda

Filling:

1 tb heavy whipping cream

1 tsp instant coffee

2 tb butter, softened

1 cup confectioner’s sugar

Glaze:

1 cup, 6oz, semi sweet chocolate chips

1/3 cup heavy whipping cream

In a saucepan over low, melt butter and chocolate. Cool slightly.

In a small mixing bowl beat eggs, sugar and vanilla. Stir in the chocolate mixture.

Combine the flour and baking soda, add to chocolate mixture.

Spread into a greased 8×8 pan. Bake at 350 for 25-30 minutes or until toothpick inserted near center comes out clean. Do not over bake. Cool on wire rack.

For filling, combine cream and coffee in a small bowl. Stir until coffee is dissolved.

In small mixing bowl, beat butter and confectioner’s sugar. Add coffee mixture. Beat until creamy. Spread on brownies.

In a small saucepan combine chips and cream. Cook and stir over low heat until chocolate is melted and mixture is thickened. Spread over filling. Let stand 30 minutes. Cut into squares and store in refrigerator. 16 brownies.

Snickerdoodles to The Rescue

I was indeed a crafty bitch this holiday season. I went ahead and froze extra cookie dough so I wasn’t slaving making batch after batch after batch of cookies day in day out while they were all being snagged up. Oh no, not me. I froze a bunch of cookie dough.

Including snickerdoodle cookie dough.

Which I proceeded to then completely forget about until now.

Nevertheless, I found it and took it out to thaw and bake. I love having frozen cookie dough at my disposal. It’s great when I’m running low on lunch snacks, like now. Cookies don’t freeze well. Cookie DOUGH on the other hand freezes awesome.

And just for the record, no, freezing is NOT my favorite method of food storage. It’s too sensitive. If the power goes out, or god forbid worse, basically you are screwed. But for non essentials-like cookie dough-it’s GREAT!

The best thing about it is that it’ll thaw out in no time and you can have it out and baked by the time the kids get home, dinner is done, or whatever. And don’t forget to snag half for lunches! That’s becoming increasingly important in my home. I find that if I snag half of them, they aren’t really “missed” nor are they really “searched for” ergo I then have a couple days worth of lunch snacks to throw in there with no effort.

My snickerdoodle recipes calls for them to be rolled in cinnamon and sugar right before baking, which I assume most of them do. So it’s super easy.

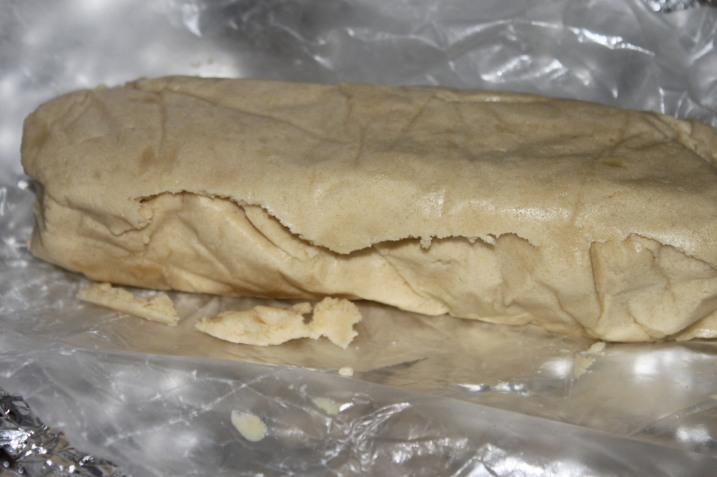
Grab the cookie dough out of the freezer. I wrap mine in rolls, in wax paper then in foil.

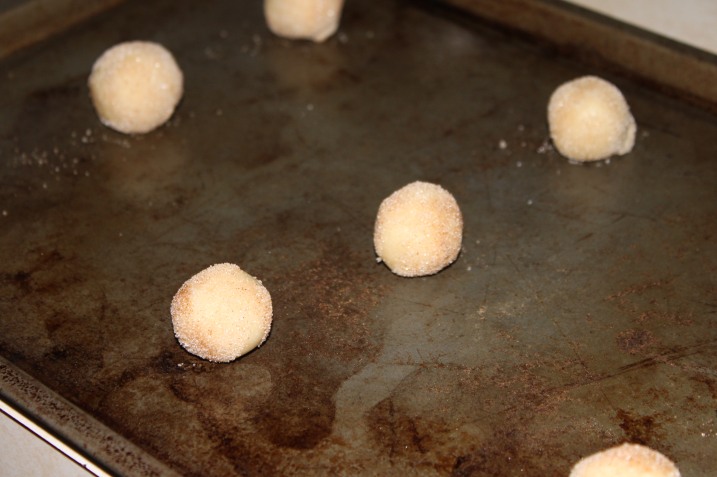
Once it’s nice and thawed out, roll them into balls.

Don’t forget to test some cookie dough. God wants you to. If you are not diabetic and have perfectly working beta cells, then have two. God said so.

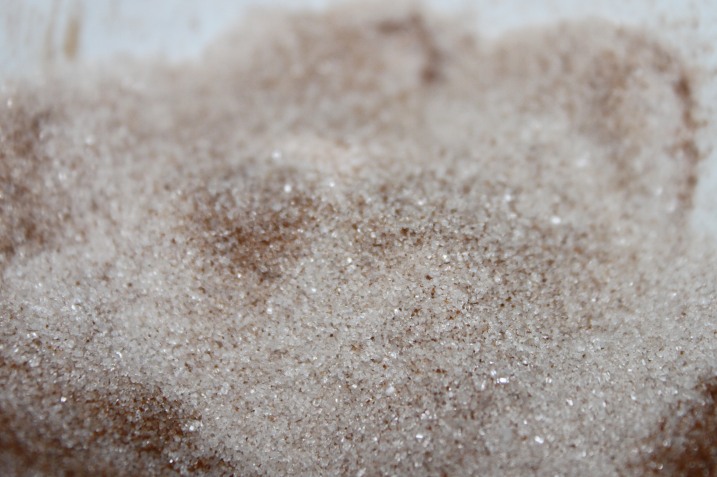
Then roll in cinnamon and sugar. Again, a taste test is a must here. You want to make sure you are giving a high quality product!

Set them out on greased cookie sheets and bake.

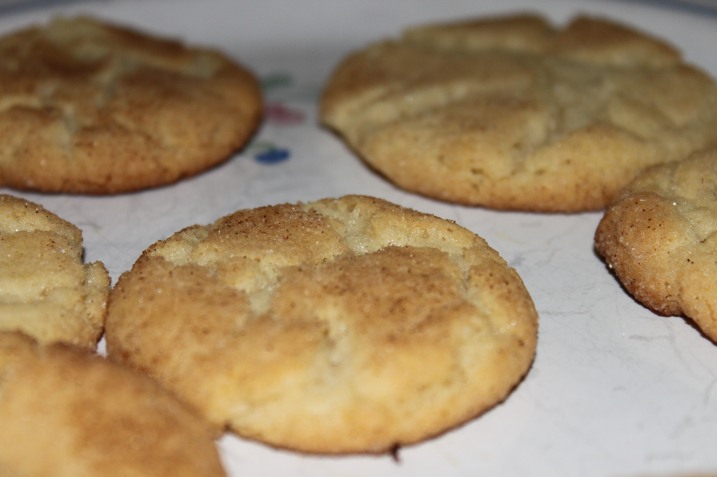
And viola! You’ll have cookies, damnit!

There will be no discernable difference between this dough and dough that I made fresh, and it keeps forever. Try it next time you make your favorite cookies. Make a double batch and stick one in the freezer. Then let them think you went through all the trouble of making super special cookies just for them on a whim! Thaw, pop em in, bake em, serve them and demand worship!

————

Snickerdoodles

1 cup shortening

1 1/2 cup sugar

2 eggs

2 3/4 cup sifted flour

2 tsp cream of tartar

1 tsp baking soda

1/2 tsp salt

3 TB sugar

2 t cinnamon

Cream shortening and 1 1/2 cup sugar. Add eggs and beat.

Sift together flour, cream of tartar, soda and salt. Stir into the first mixture.

Roll into balls. Roll balls in mixture of 3 T sugar and 2t of cinnamon. Bake 400 degrees for 8-10 minutes.

Dough can be frozen before rolling in cinnamon and sugar mixture.

Onion Sausage Toothpick Things

When I took my trip to Ireland, I ate a lot. Like. A lot. 15 pounds and near diabetic coma a lot.

Quite a few things stuck out to me that I loved: black pudding, Lucky’s mom’s mashed potatoes and gravy (drooollllllll, sooooo good), the guiness, the TEA (Oh GOD it’s good!). Even the battered fish was so excellent. Fish in Ireland has no smell. I walked right up to the fish counter at the grocery store and stuck my nose in it, so did the Texan who HATES fish, and nope, not a scent. If you’ve ever been near a fish counter here in the US, you KNOW you can smell that briney, fishy scent about a mile away.

But I came back with a simple obsession. Perhaps it’s because all the ingredients are available here or because it was something I could actually eat without rocketing my blood sugar. Either way, I’m an addict.

One night when Lucky was having a party at his place, Lucky’s mother made these little snack things. They were a piece of ham (though it was more like sausage), with a single cocktail onion and a single cube of cheese on each toothpick. I.ate.the.hell.out.of.those.

They are surprisingly good. Lucky gave me guff because he says his mother has been making those simple things all his life and why I would choose something so simple to bring back with me with such fervor is somehow funny. But I can’t stop eating them. And  everyone here that tries them is really surprised how good they are. How simple and how damn tasty.

So, first thing I did is I went to the store. In Ireland they are jars of pickled onions. Here, the closest ones I’ve found are called sour cocktail onions. And the jars are freaking TINY! Think like maybe a dozen little onions in each jar for like $4. Ugh. The things we will do for an addiction.

I’d put those on a toothpick with some colby jack, cheddar, or pepper jack, and a chunk of venison sausage and it was heavenly wonder. I ate that every single day, if not more than once a day. And then I ran out of onions. I’d gone through probably a dozen jars before I decided I’d try to make my own.

I went to a local market here and bought a bag of fresh mini onions. That was the first mistake. Those things are a PAIN IN THE ASS to peel. It was only later I learned you could use frozen. Duh.

I tend to like the onions really crisp, so I opted to do a fridge-type cure instead of canning because I didn’t want them going soggy. I figured how hard can it really be? A pickled onion, or a sour onion? Vinegar and salt, big whoop. I added spices for good measure because I wanted a spicy onion. Now THAT sounded good! So I added some red pepper flakes. And a whole jalapeno to add some spice to it.

Then I poured vinegar over it and let it sit in the fridge for 2 weeks.

Then I tried one, so excited! YAY! A seemingly endless supply of cocktail onions.

Epic. Fail.

It had flavor alright. It was spicy and the onions were firm and it tasted like biting into a huge crispy ball of vinegar. No. This wouldn’t work. I was pissed. I was heartbroken. I was back at the store buying more $4 a jar cocktail onions.

I’ve since seen several recipes to can cocktail onions, but I fear it. Mostly because they call for frozen onions. And the problem there is the between being frozen and cooking them, there’s going to be a soggy factor. And I’m NOT about to sit there and peel a million tiny little onions.

That doesn’t mean I’m not going to TRY to make my own. Even if those fail I can always use them in cooking. But still. It sucks. I really wanted this to work. And it didn’t. It was actually AWFUL!

I won’t give up my onion sausage cheese toothpick things. No way and you can’t make it, but I’ll admit a fail when there’s a fail. And this was a HUGE one. See, Martha Stewart never tells you THIS sh*t!

Ultimate Dog Snacks

If you’ve read my posts for awhile, you know I’ve got a pup. She’s very old, 13 for an Akita, which is old indeed. And she has cancer. And there’s nothing we can do at this point except keep her comfortable. Which we are doing and grateful for every minute we get.

Here she is, a little pissed off because she wanted to go for a walk but didn’t realize it was snowing.

She’s also been, historically, a very picky eater. And now she’s gotten to the point where she’s super super picky. The doctor has told us to go ahead and feed her anything she wants to eat, table food and the like, as long as it’s not harmful to her. At her age, with her condition, it’s not like we are worrying about obesity. As long as it’s not upsetting her stomach or bad for her, it’s fair game. Her appetite waxes and wanes, but when it’s waxing she’s LOVING the fact that we are now her slaves and will feed her half of our dinner if she’ll eat it.

She’s not been a big fan of the normal doggy snacks I’ve give her. But she loves my jerky. Jerky has to be one of the most natural things for a dog to snack on. It’s basically meat and that’s it. Mind you, you’ve got to cut the nitrites and the salt and seasonings, but they love it. Old or not, jerky is one of those awesome “I can share this with you” snacks while you and Rover are chillin’ watching TV. So I made her a big ole pile of it.

First, you don’t HAVE To use ground beef. I use grass fed ground beef though. It’s softer for her, not quite as chewy. Grass fed is also leaner, and fat is a bad idea when making jerky. It makes it go rancid.

You also don’t have to marinade it. Most dogs will eat it totally plain. But since she’s picky, I marinade it in low sodium natural beef broth.

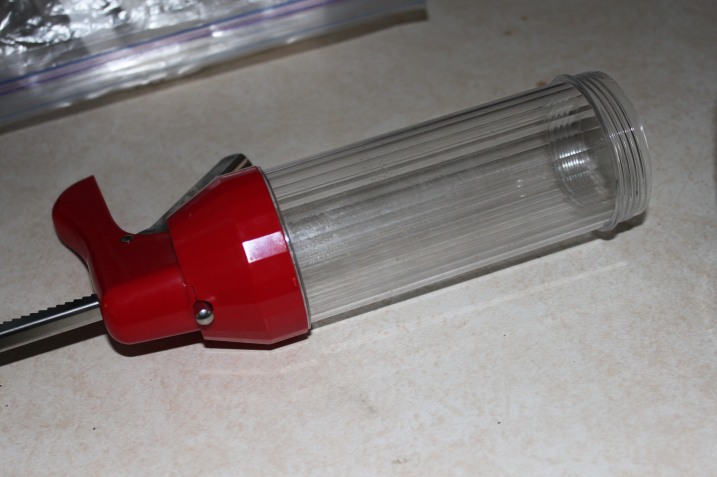
Then I whipped out my jerky gun. Gadget alert. However, it’s a needed tool when you are making jerky from ground meat. Otherwise you will spend forever forming weird patties that won’t be of a consistent size and basically end up drying at different rates.

Shove the meat into the gun.

Now squeeze it all onto the dehydrator trays. It’s sort of vulgar and gross and kind of fun to do this.

Mine generally only takes about 4-6 hours to dry totally. But I have a bad ass dehydrator so that could be why. It comes out fabulous.

Pat it dry with a paper towel to get off an excess fat that could make it go bad. I store mine in the fridge. And the pup LOVES it. Thank goodness!

It gives her a lot of natural calories and proteins and it’s something she almost NEVER turns her nose up at even when she won’t eat anything else.

I see no reason why you couldn’t give this to a healthy young pup as well. I give these to my 3 year old border collie all the time as well, after clearance from the doc. He said as long as there’s not tons of salt or seasoning, and it’s properly dried, it’s actually a pretty healthy snack for a dog. So I’m thrilled.

This will definitely be on the menu for my pups as a permanent item. It’s fast and easy, plus it’s tasty and I can eat it too (YAY! A blood sugar friendly food!).

I’m sure if you make this for your best friend, you’ll get a lot of tail wags and probably be followed around the house for the rest of your life. I think it’s like doggy crack, they absolutely love it!

Hot Stuff, my love…

I’m not a coffee snob. As a matter of fact, I HATE Starbucks. I’m sorry. Their coffee SUCKS. I’ve had a couple of their weird macchacappafrappfuckachino’s that weren’t bad, but they are just piles of sugar I try to stay away from. Moreover, their sugar free sweetener tastes like burnt carrots.

I actually prefer Dunkin’ Donuts coffee. It’s really good. Really really good. I can’t even imagine WHAT the do it to make it good, and I don’t care. I’m allowed some bad habits.

The BEST coffee I can remember is my grandmothers. I think she used a stove top percolator. She’d dry egg shells, washed, and put them in there to make the coffee mild. It did. Now that she’s gone, the Polish diner a few towns over has absolutely THE best coffee I’ve had save my Grandma’s. They say they use Stewarts, I don’t buy it. I think they do the egg shell thing because it’s wonderful and mild and just *drool*.

I prefer my coffee with cream. I like my coffee with lots of cream. No sugar, cream. That’s how I take it. Funny, that’s how my mom took it too, must be genetic.

And I LOVE flavored creamers. Again, it’s a franken-food, not to be classified as ACTUAL food, but they are fun and spruce things up a little bit.

I also generally drink decaf, organic so that it doesn’t have the god knows what it is chemical in it. I’m one of those super sensitive caffeine people. I’ve also found that I don’t LIKE the type of energy caffeine gives me, and no matter how early I drink it, it makes me tense, unable to sleep and grinding my teeth at night. I don’t like the crash either. The crash is awful. I find as long as I have something “hot” in the morning, it picks me up. Though I still prefer that “hot” to be coffee.

I have a Keurig. They are great little machines. We don’t go through a huge amount of coffee everyday, not enough to facilitate a whole pot of it most times. Plus I’ve always found coffee pot coffee to be kind of gross. My preferred way to make coffee is a french press. If you haven’t tried one of these, do it. You’ll never go back. It’s SO good.

Anyhow, I do use K-cups. But sometimes the buggers are just too expensive. So I have a “my K-cup” thing for my Keurig. Yep, gadget alert. It’s basically a cup where you can put in your own coffee. Which I do. I also find, for those of you in the same boat, that if you open the machine up (the little level you pull up to put the k cup in) WHILE it’s brewing using the my K-cup thing, it’ll give you a stronger cup of coffee. Just lift it while it’s brewing and let the water sit in there a couple seconds, then push it back down. Works great.

Anyhow, for those of you looking for a little make-your-own delight when it comes to coffee, here are some ideas I use frequently to kind of give my morning boost a kick.

Flavored Coffees:

Supposedly, flavored coffees are made using a sort of special flavoring on the beans before they are roasted. Or so that’s what I hear. I’ve done it a little differently cause well, I’m lazy, and I don’t want to roast my own beans.

1-2 pounds of coffee, ground

1 bottle (1 oz) of extract

Use any extract you like, though I caution against some funky ones like lemon. Lemon coffee. No.

All you have to do, essentially, is slowly drizzle the extract into the coffee grounds and use a pastry cutter to work it in. You can make super short work of this by just using a food processor and dumping half the bottle of extract in. Pulse it a few times. Dump the other half. Pulse again. It’ll smell wonderful. Will be sweet? No. Will it be exactly like store bought? No. But with a little sugar or cream to bring out the flavor, it’s pretty damn good.

Some of my favorite extracts to use are: Vanilla, Almond, Mint, Chocolate and Coconut. Mix them up. Add Vanilla AND Almond and you’ve got Hazelnut. You can get pretty damn creative. Don’t add TOO much extract though because it’ll make the coffee all funky, taste real bitter, and be almost wet and greasy and go rancid fast. If you can, store it in the freezer once you’ve done this.

What about creamers? Ahhh, yes. I LOVE making flavored creamers. Whenever I talk about “creamer” here, I’m talking about the powdered creamer, non dairy stuff. Cheap, easy, works great. I’m not going to give you hard and fast recipes here because sincerely it’s a matter of taste:

Half creamer and half brown sugar= a sweet creamer than tastes something like toffee

Creamer with some cinnamon and nutmeg will give you an unsweetened pumpkin pie type creamer, add sugar if you want it sweet

Creamer with some hot chocolate drink mix will give you chocolate creamer. Hmmmmmm.

Creamer with some Tang (yes, tang, I swear it) and some non fat dry milk powder will give you Orange Cream creamer.

You get the idea! Get creative!

Someone brought to my attention once the use of hot instant tea mix. Now, I AM a tea snob. I’m NOT a huge fan of instant tea mix. But, I have played with the unsweetened variety and I’ve gotten some cool variations out of it. I’m talking about UNsweetened instant tea powder here, not the sweetened kind. These all can be used hot or cold. For your instant tea pleasure:

Half instant tea and half tang. Oh yes, orange tea.

3 parts instant tea to 1 part flavored, sweetened jello. The consistency is a bit weird but it’s a HUGE amount of flavor.

3 containers of instant tea mix mix to half a bottle of lemon, orange, or lime extract. Do it the same way you’d do the flavored coffee.

Instant tea with sweetened, flavored koolaid, like the ones that come in the tubs. Or mix your kool aid and sugar together then add the instant tea. Do this to taste depending on how sweet you want your tea.

Really, there are endless possibilities here. Experiment using what you’ve got or what’s on sale or whatever.

It’s kind of fun having endless amounts of choices when it comes to drinks. For me, mostly, I can’t drink them what with the diabetes, however, other people can and do and love it. These things shouldn’t replace water, but it’s nice for a little change. And then, of course, you can go apesh*t like me and decide there are TOO many things in the cabinet in the way of options and force everyone in the house to drink your creations until they are gone.

HEY! That’s the power of being this crafty!

Broccoli Be Damned

I love broccoli. I really do. Just not right now. Last year in my garden I planted broccoli. It was the third or fourth year I’ve done that. And we had SO much of it, it was REALLY good, but it was broccoli everyday for months. What was not eaten right away was frozen, so it lasted through for awhile.

Then the fact that I shop costco for produce during the off season. And all they REALLY have in bulk at the one by me is, you guessed it, broccoli. I’m so freakin’ sick of broccoli you guys, you have no idea. NO idea. I’ve tried to gussy it up. Adding cheese and the whatnot, but man, still, ALL the time. One woman can only handle so much especially when said woman is diabetic and her main parts of the meal and meat and veggies.

So when I saw cauliflower on sale, I jumped at it. Usually cauliflower is pretty expensive during the winter months here, so I was THRILLED. I can make it into soup, salads, toss some butter and bread crumbs with it, some heavy whipping cream and salt and it’s like mashed potatoes that don’t kill your blood sugar. I love it with just plain butter on it too. I love it. But, we will see how long that lasts.

I went ahead and decided to buy a ton of it and freeze it. It saves money and time because I can just yank and pull from the freezer and into the pot it goes. But I can tell you a couple of things:

1. Do not attempt to vacuum seal it. It’s too moist. It won’t seal.

2. Make sure you have good steamer bags.

3. Make sure it’s as dry as you can get it before you freeze it so you don’t end up with freezer burn from the water.

So, this is how you do it:

First, get some water boiling, enough to cover one batch of cauliflower. Add about a tsp or two of salt to this water and get it to a nice strong boil.

Now chop up your cauliflower into florets. They say to do this in 1″ wide pieces, but honestly, I don’t think it matters and I’m lazy so…


Once your water is boiling, go ahead and add enough cauliflower to it so that the water is covering it.

Return that baby to a boil and start a timer for 3 minutes from the point at which it starts a full boil.

Right, like you really needed to see a picture of my microwave timer.

ANYWAY.

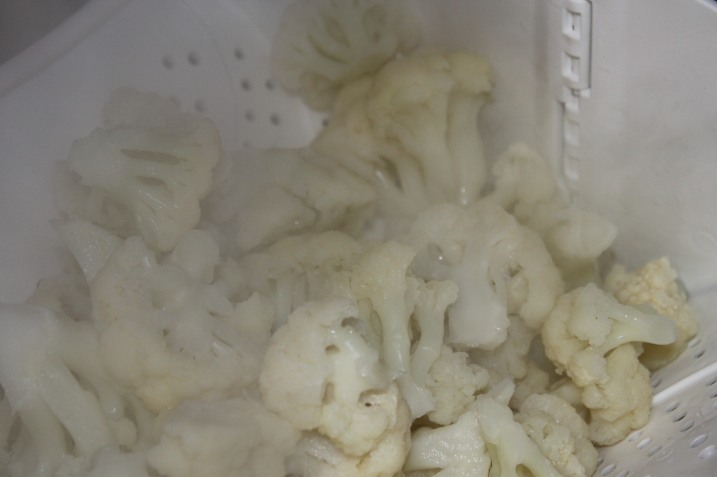
After the three minutes, remove them with a slotted spoon or use a colander. I used a slotted spoon AND a colander because I wanted them to drain totally between batches and still save the hot water in the pan.

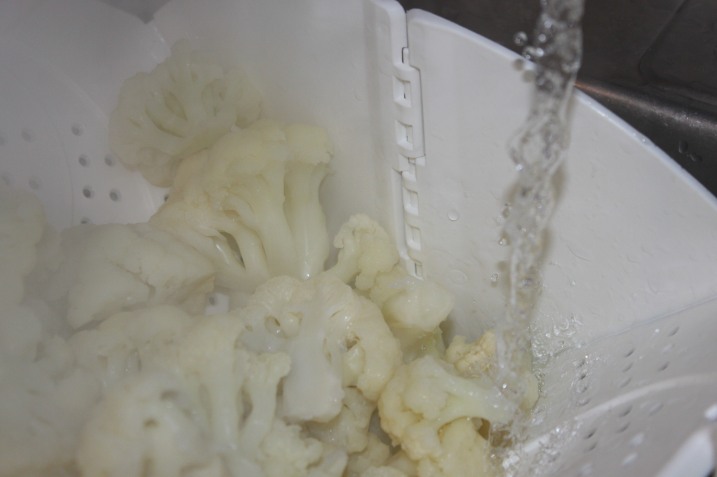
At this point you want to dunk them in super cold ice water to stop the heating process. I didn’t have ice so I used super cold tap water run over them for a few minutes. Make sure to toss them if you are doing this so it cools all of them.

Now that that’s done, let them drain for a bit. Shake them off and pat them with paper towels and stick them in a freeze bag, flat, and store in the freezer.

Then when you need cauliflower you can just dump it in the old steamer and you are good to go.

I don’t know if anyone else is a cauliflower lover, but I have to tell you, I’m THRILLED about it. Mostly cause it’s NOT broccoli.

Adventures with the Aerogarden: Herbal Vinegar

If you don’t know what an AeroGarden is, it’s a pretty damn cool little contraption. It’s an indoor hydroponic gardening kit. And I know what you are thinking when you think of hydro. Dirty hippie.

My house is old, and drafty. Although I have a big window on the south side of the house, herbs and indoor plants don’t grow well for me. Except Pothos. Also known as mother in laws tongue. That grows great. But I have that sitting in a pot of water so that’s probably why. And it needs next to no light.

I got totally tired of watching my little plantings die. Something about this house is cursed with plants. Not outside, no, just inside. So the Aero Garden was a little tool I always wanted. Gadget. I know.

When Mr. B came home with one he’d gotten for Christmas, I knew it’d be my responsibility. He’ll eat what I grow in it, but he’s not gonna take care of it either. That’s ok. I’d be more than happy to take over.

I decided to grow herbs first. Herbs because I want to get started making herbal vinegars for Christmas next year. The longer they brew, the stronger they are. They make wonderful everything’s from marinades and additions to salsa to facial and hair rinses.

So I started the little pods up on Christmas day. Herbs are one of those things you need to use as they grow. If you let them get TOO big they’ll die, they go to seed. Pick too much of them and they’ll die. Usually you want to take no more than a third of the plant.

I noticed my Lemon Basil was going to town. I’ll only be able to take a few leaves because the plant is still young, but I can start the vinegar and just keep adding fresh plant matter as I go along. These things don’t take long to replace what you’ve taken.

So, here it is. My little pride Lemon Basil.

She’s getting to be a big girl!

I picked off a few leaves. Mature ones. Remember, never more than 1/3 of the plant. I put these in an 8 oz jelly jar for now. I’ll increase the size of the jar as more leaves are added.

I covered it with some white vinegar. You can use high quality rice and champagne vinegars if you want, but for me, white vinegar is old faithful. It marinades beautifully.

Cap it with a NON METAL cap. That means either using the plastic freeze caps Ball has for their jars OR putting some plastic wrap over the mouth of the jar THEN putting on the 2 piece band and lid. You don’t want vinegar touching metal. Metal+vinegar=corrosion. You don’t want to eat that.

Now, it’s time to label it. You can date it if you want, I don’t, because I’m going to keep adding to it. I found dissolvable labels at Menards for canning jars.  You’ve NO idea how wonderful a thing these are going to be for me. Getting labels off jars is a serious pain in the ass that requires, most of the time, that you boil them off. Urg!

The only issue I’ve got with these is that they are kind of flimsy. They also come in a roll, making writing on them BEFORE you put them on the jar impossible. They are also a weird material, so when I used a sharpie marker on it, it kind of bled. Not very pretty. Next time I’ll use pen.

Lemon basil vinegar is going to make an awesome marinade for fish and chicken. Hmmmm.

Just shake it once a day or every other day, store it somewhere cool, dry and dark, and keep adding as you keep getting more, until about half the jar is full. Keep in mind the basil will kind of wilt as it goes along, so use your best judgement as to how much is in there. You don’t want it so strong it’s going to overpower the food. Once I think I’ve got enough lemon basil vinegar to satisfy gifts and needs, the rest will get dried and crushed and stored as a spice.

So, if you’ve got indoor plants or an aerogarden collecting dust (I’ll BUY IT FROM YA IF YOU DO! I want several of these things!!!), this is a great way to make it work for you. Plus knock out some christmas gifts and tasty meals in the process.

See, I’m NOT anal. There really IS a use for everything!

Bacon Onion & Cheddar Carb Laden Flour Things

Ok, so they are biscuits. They are pioneer woman’s biscuits. Doesn’t mean I can eat them. However, I’ve always been fascinated by biscuits. It’s hard to find a REALLY good biscuit. Most of them are dry or tasteless, but when you do find a good one, they are REAL good.

So I thought this sounds perfect!

#1: It’s PW. I love her. She’s awesome.

#2: Bacon.

#3: Cheddar. Everything is better with cheddar.

#4: Onions. The wonderful, tasty little veggie, gas and bad breath inducing as it may be.

#5: Bacon

Can’t go wrong right?

So, first, I fried up some bacon. Hmmmmm, bacon.

It’s supposed to be done, but not too crispy.

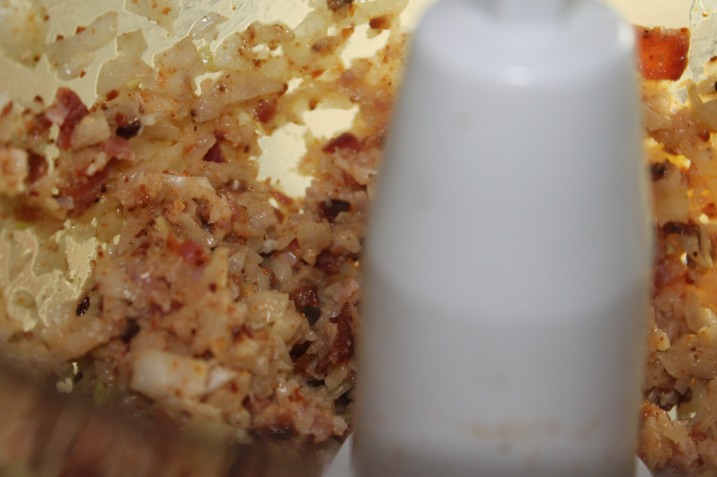
Then, chop that up with some onions. I used my trust processor for this.

Then we mix together the flour, baking powder, salt and shortening using a pastry cutter.


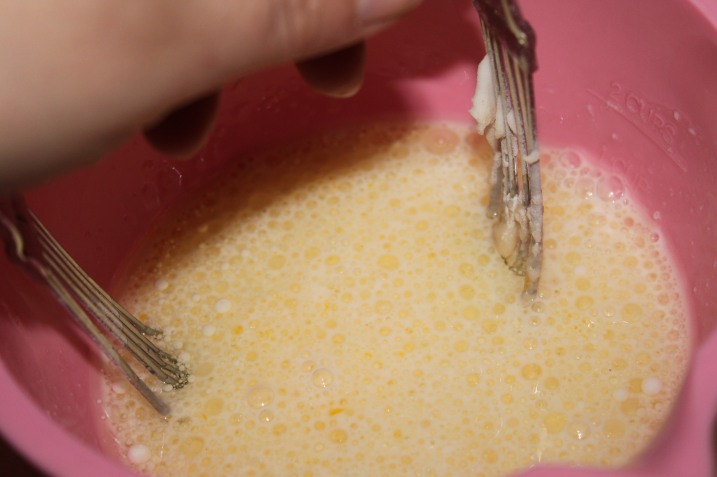
Then whisk together the milk and the egg.

Add some oil.

By the way, did I tell you how much I love the recipe manager on my Ipad? It’s a God-send.

Now whisk the oil, egg, milk mix some more.

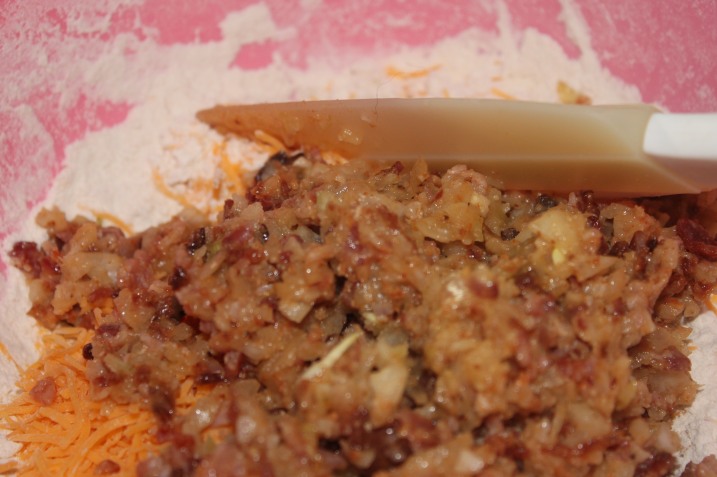
Now put your cheese into the flour mixture.

Then add the bacon onion mixture.

And finally add the milk mixture.

Now mix that up really good and well. It’s gonna be super super lumpy.

Grease up some muffin pans, in whatever way you will. I use Pam. And drop the mix into the pans by the heaping spoonful. I actually filled mine up pretty good because I didn’t want little muffins.

Bake them for 22 minutes at 375. And you’ll have nice golden Bacon Onion Cheddar Biscuits.

How were they? They were ok. I really want to jump for joy and tell you they were amazing. But I just though, eh, they were ok. HOWEVER, the boys loved them.

Keep in mind that I didn’t use super sharp cheddar either, because all I had was mild, and that I’m not used to carbs. So my primal palette has sort of adjusted and most carbs now tastes kind of plain to me. I suppose with the addition of more salt and sharper cheddar, and believe it or not perhaps MORE cheddar, these would have been really good. To me at least. But they got eaten up by everyone else.

So my quest for the perfect biscuit shall continue!

Even though I really don’t eat biscuits.

And when I do they make my blood go super thick.

And typically they aren’t my favorite thing in the world.

Don’t ask me why I search. I’m mental. You knew this.